Page 5 / 7
Design &
Construction |
  |
|
 |
The Sanwa and Seimitsu pushbuttons
are installed along with the 10 mm buttons. There isn't much
room for your fingers here, but it's just fine. |
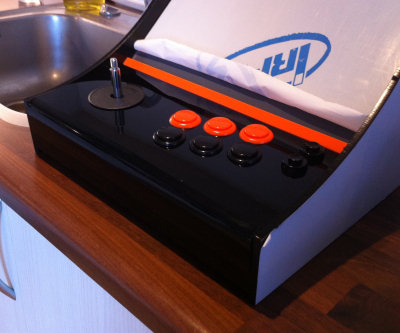 |
The orange moulding looks good with
the buttons. |
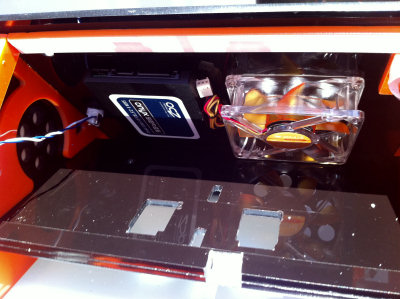 |
The SSD harddisk and the 80 mm case
fan is installed and as you can see here, the cabinet is
designed to fit a standard 80 mm fan and no more.
I originally wanted to use a 60
mm fan, but I couldn't find any that had the right noise level.
I really want this cabinet silent and that's why I use the SSD
and also to make it more sturdy. |
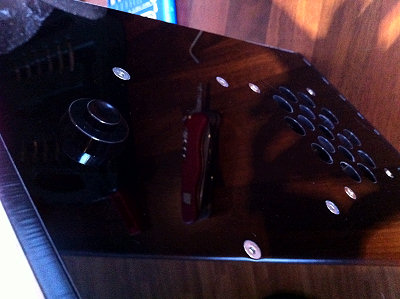 |
On the back you see the screws are
flush with the Plexiglas surface.
The SSD is mounted with stainless
Allen bolts. I like there small details.
|
|
|
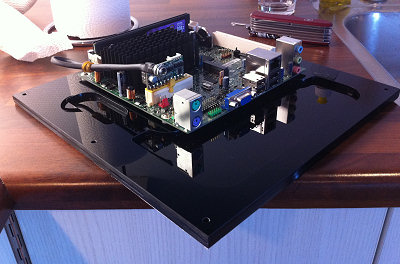 |
The mini-ITX motherboard is mounted
to the bottom panel. The mini-ITX board is only 160 x 160 mm and
the panel is the same length as a sheet of A4 paper. Just to
give you an idea of the size. |
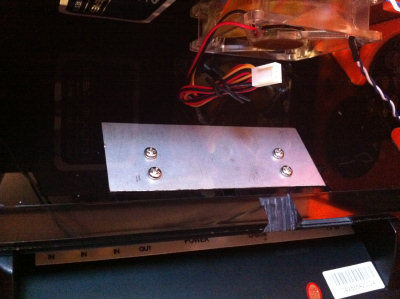 |
The monitor is mounted with a piece
of steel plate with four holes in it. Quite simple, but
effective. |
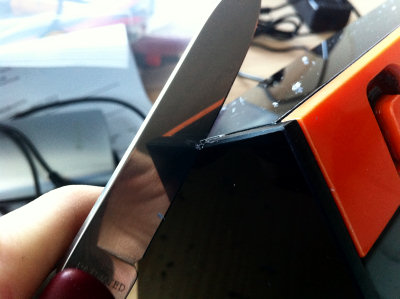 |
All the sharp edges are grinded
with the edge of a knife. I also use a file, but not sandpaper,
it makes the edges grey and matte. |
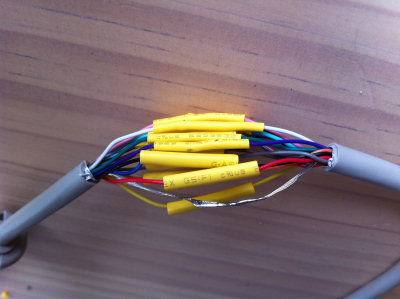 |
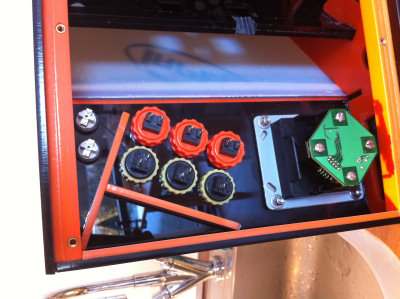
Time to do all the wiring and
electronics. I have shortened all the cables because the cabinet
hasn't room for long cables. Actually I used a whole day to
shorten them because I couldn't even close the cabinet.
Here is the VGA cable. You can
actually buy there in short lengths, but I am not known for my
patience with waiting on the mailman, so I just shortened it
myself. It's a tiresome job. |
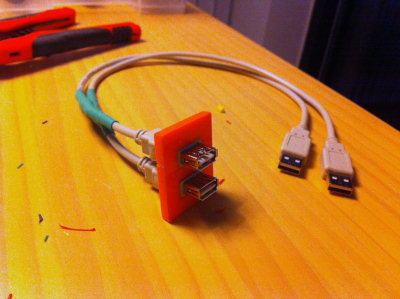 |
Here is the USB plugs. It's just
made of two shortened USB extension cables mounted to a piece of
plexiglas with epoxy. This is a very inexpensive way to make
some nice USB plugs. |
Also check out:
Upgrading the Nanocade
(2013)
(9.7" iPad 2 screen, new
motherboard, speakers etc.) |
 Join
our Facebook group and receive updates and discuss MAME cabinets
with fellow retro gamers: Join
our Facebook group and receive updates and discuss MAME cabinets
with fellow retro gamers: |
|
Page 5 / 7 - Design &
Construction |
|
|
|
|
If you decide to make your own MAME cabinet using my drawings, please feel free to
make a donation, as I'm trying to raise enough money to make a new
up-right cabinet, that's hard to do as a student. |
|
