Page 1 / 5
Design &
Woodworking |
  |
 |
Project MAME started as a simple sketch, but was eventually made in Autocad
2008.
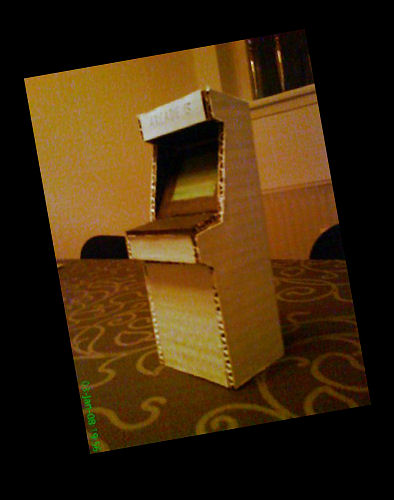
Next I made a 1:10 model in cardboard, from
an old box.
Having no experience with JAMMA, I choose
to buy a X-Arcade board, even though I designed the cabinet to
fit a custom-made at a later point. (As you will see, I have
replaced the X-arcade)
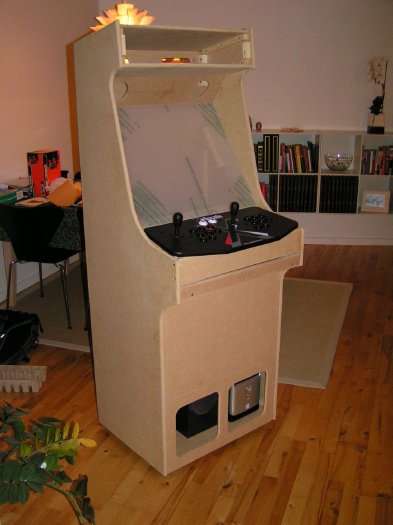
Some of the key elements in my design is:
- Compact design using a TFT monitor
- Keeping the retro feel and look
- Good ergonomics
- Rather low weight
|
 |
With the drawings, I visited my dads,
knowing he has a lot of tools. |
 |
I bought theese items at the DIY retailer:
-1x 16mm MDF/HDF board
-1/2 12mm MDF/HDF board
-6 meters of 25x25mm strips, made with a circular saw.
-3mm plexiglass 700x1000mm
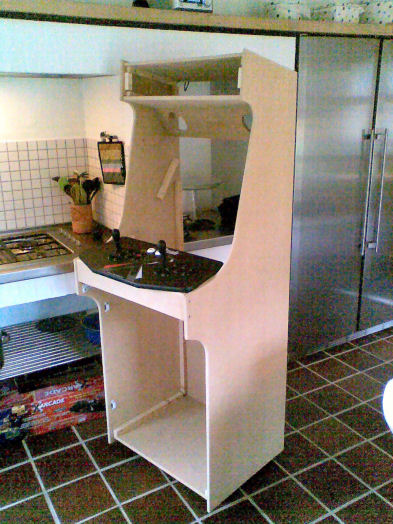
Then it was just a question of cutting the
boards and put it together by glue and screws.
All the edges was processed by a milling
machine, to make it nice and smooth. |
|
|
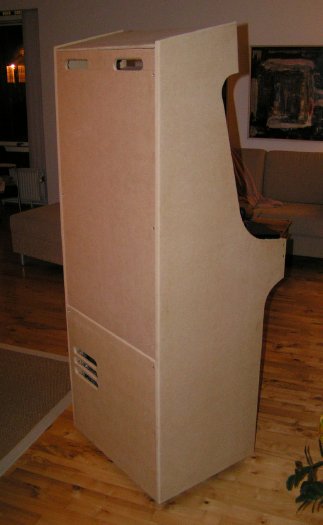 |
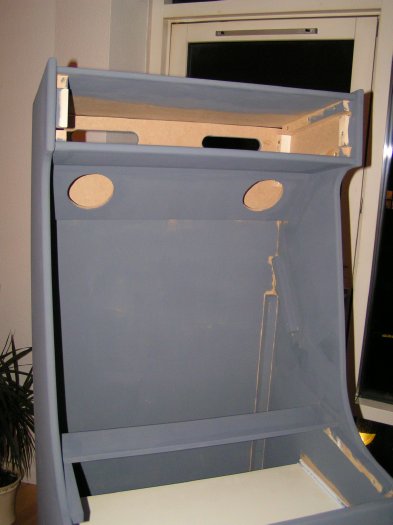
This is the back of the mame cabinet. Good
ventilation for PC in the bottom and the monitor in the top.
Thank God for the milling machine. |
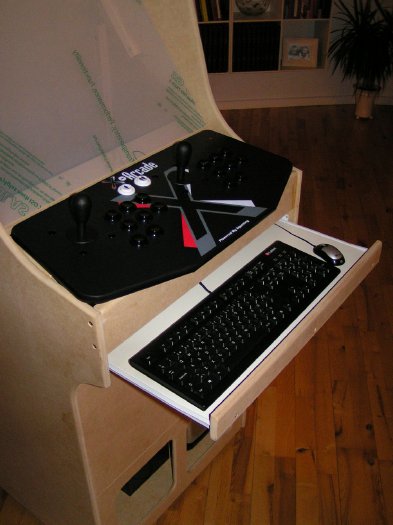 |
The X-Arcade fits like a glove and there is
a draw for the keyboard and mouse. I think it is a nice touch. |
 |
A layer of primer, makes the paint stick
much better and it will last much longer. This is not a step to
skip.
|
 |
A whole lot of sanding afterwards...
And then another coat of primer to make the
finish more professional ;D |
|
|
 Join
our Facebook group and receive updates and discuss MAME cabinets
with fellow retro gamers: Join
our Facebook group and receive updates and discuss MAME cabinets
with fellow retro gamers: |
|
Page 1 / 5 - Design &
Woodworking |
|
|
|
|
If you decide to make your own MAME cabinet using my drawings, please feel free to
make a donation, as I'm trying to raise enough money to make a new
up-right cabinet, that's hard to do as a student. |
|
