Page 2 / 5
Paint & Making a
Bezel |
  |
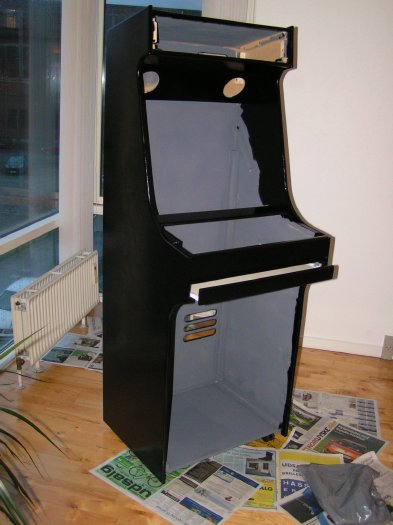 |
Then it was time to give it a layer of nice
shiny paint.
|
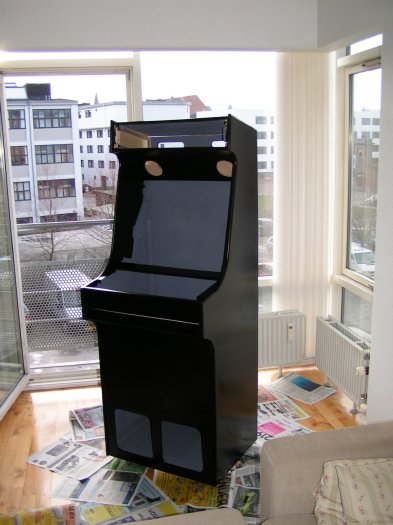 |
Then a second coat of paint :) |
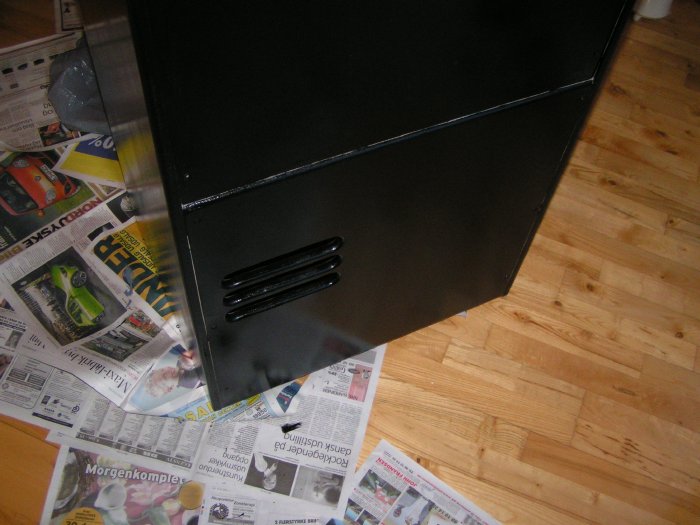 |
The ventilation duct for the computer inside... |
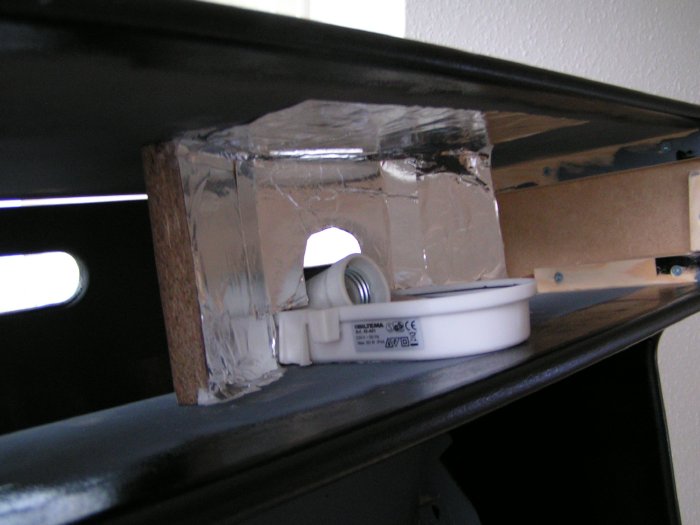 |
Then it was time for the light behind the
marquee. I modded a cheap outdoor lamp to fit the cabinet. It
would be better to use a strip light, but I didn't have the
money. |
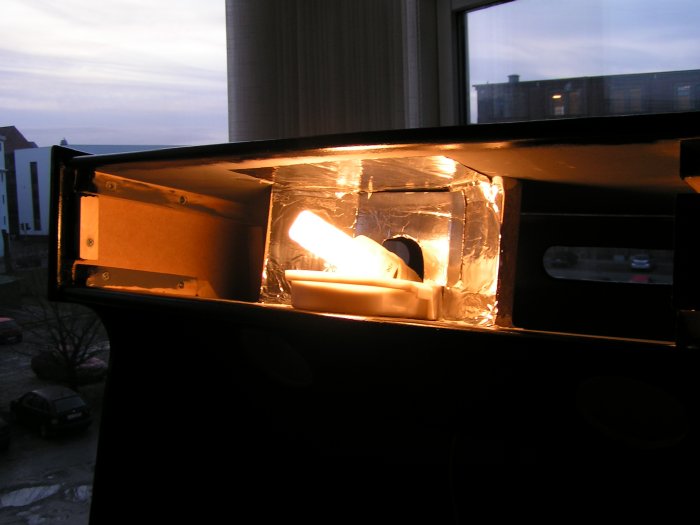 |
It needs a bulb too... This is a 11 watt. |
|
|
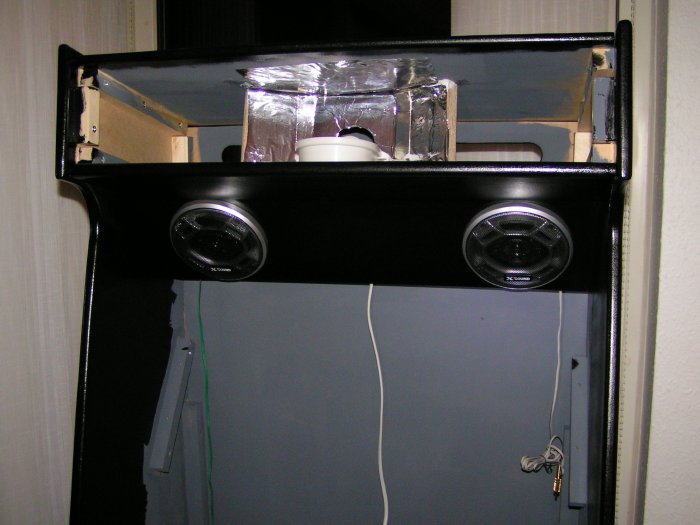 |
Then i mounted two 4" car-speakers. They
work as satellites for a Creative sub in the buttom. Sounds nice,
but a little weak on the vokals, but perfect for electronic
sound effects and music. |
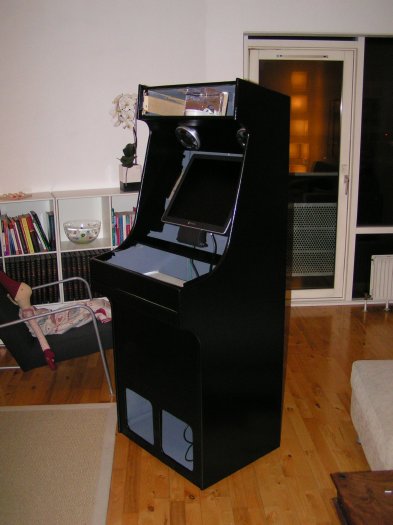 |
Then the 19" LCD TFT screen was mounted.
Notice there is room for 20" or 21" too,
it's better to go large. |
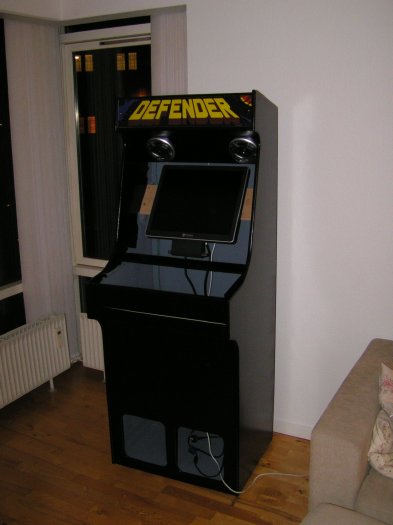 |
And finally the marquee. The DEFENDER logo
is placed between two pieces of 3mm plexi-glass. |
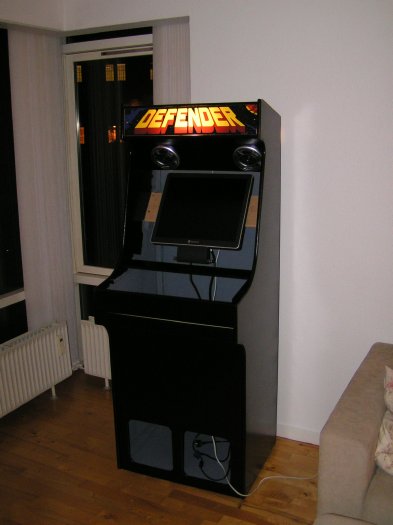 |
Turn on the light BABY!!!!!
This looks much better than expected. |
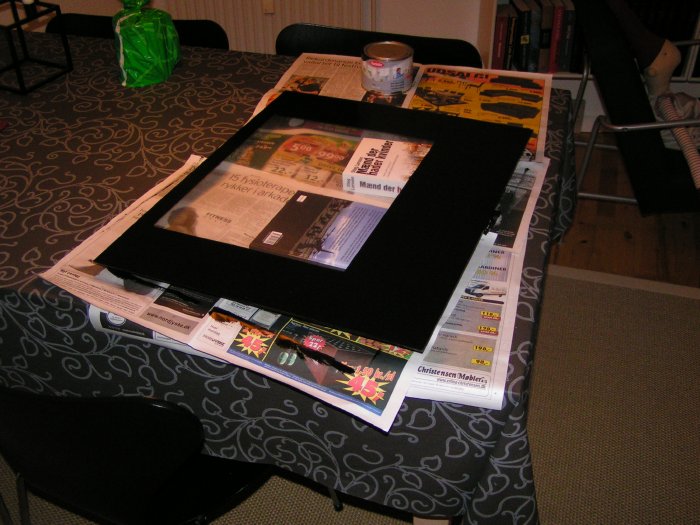 |
I decided to paint the bezel on the plexi-glass
in front of the screen. Now it works both as protection and
bezel. The paint in on the back of the plexi, and it looks very
nice and shiny :)
|
|
|
 Join
our Facebook group and receive updates and discuss MAME cabinets
with fellow retro gamers: Join
our Facebook group and receive updates and discuss MAME cabinets
with fellow retro gamers: |
|
Page 2 / 5 - Paint & Making a
Bezel |
|
|
|
|
If you decide to make your own MAME cabinet using my drawings, please feel free to
make a donation, as I'm trying to raise enough money to make a new
up-right cabinet, that's hard to do as a student. |
|
