Page 3 / 5
Temporary Control Panel
and Side Art |
  |
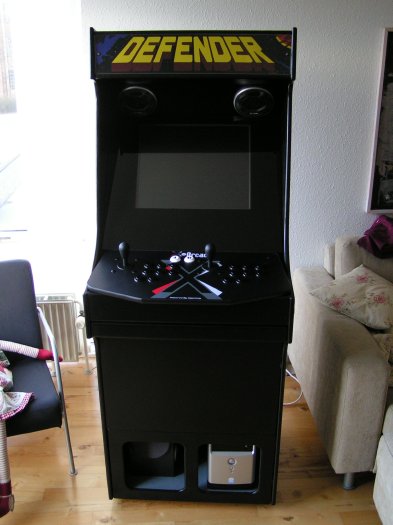 |
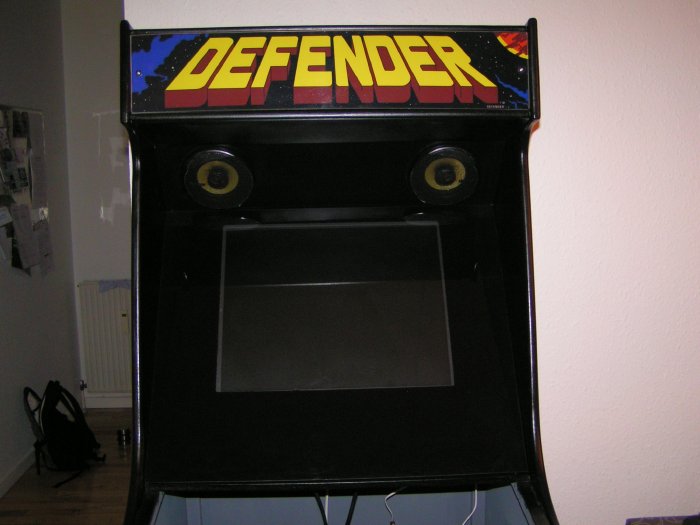
Lets mount the bezel. Looks better than
expected! |
 |
Almost done, I am more than pleased with the
result so far.
|
 |
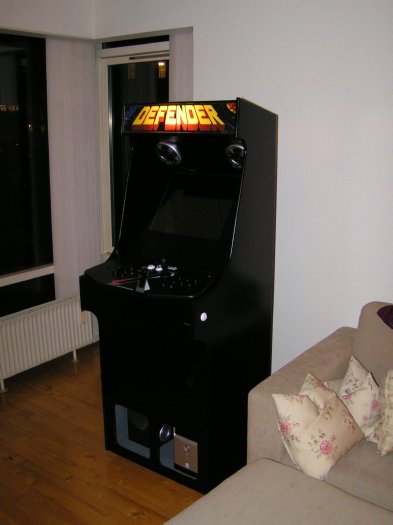
Made some cover for the computer and sub in
plexi-glass. I think I will change it later, with some black
painted aluminium netting. That will look a lot nicer.
But it is ok for now.
|
|
|
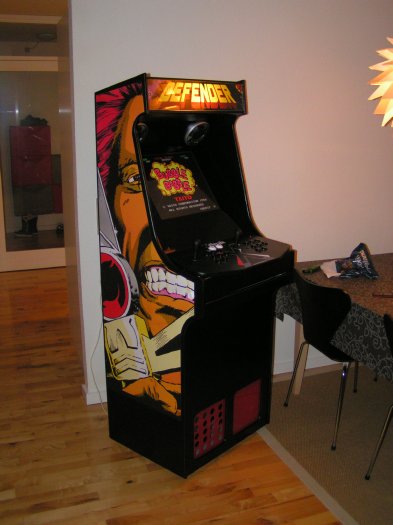 |
FINALLY! I got the posters for my side-art.
It is just normal door-posters mounted with wallpaper adhesive.
Bought them at
www.allposters.com and
you are right, it is Lion-O from Thunder Cats. |
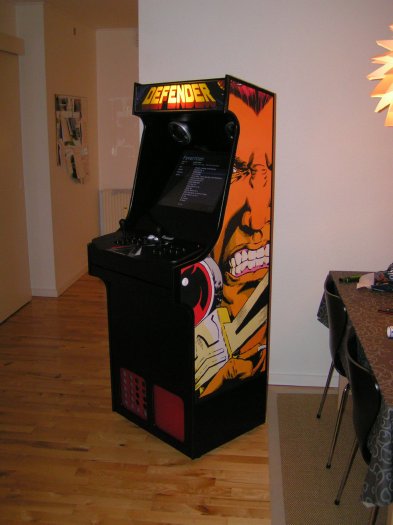 |
Then I gave it a coat of varnish with UV
filter to make it last longer. |
 |
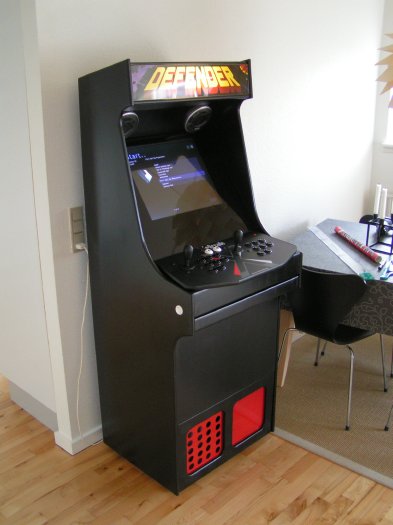
New and improved speakers from Pioneer. 4"
neodyme with kevlar. Sounds awesome. Looks alot better too! |
.JPG) |
Finally time to make a custom controller
board! I made the layout in autocad and printed it on A4 paper. |
.JPG) |
It's hard to drill this many 28mm holes for
the pushbottons! Laminated wood boards is not the easiest
material to drill without ripping the laminate. |
.JPG) |
Looks a lot better in the cabinet than the
x-arcade, also better ergonomics. Now I am just waiting on my
new sanwa joysticks and new orange and red pushbottons! |
|
|
 Join
our Facebook group and receive updates and discuss MAME cabinets
with fellow retro gamers: Join
our Facebook group and receive updates and discuss MAME cabinets
with fellow retro gamers: |
|
Page 3 / 5 - New Control Panel
and Side Art |
|
|
|
|
If you decide to make your own MAME cabinet using my drawings, please feel free to
make a donation, as I'm trying to raise enough money to make a new
up-right cabinet, that's hard to do as a student. |
|
