Page 4 / 5
New Control Panel &
Artwork |
  |
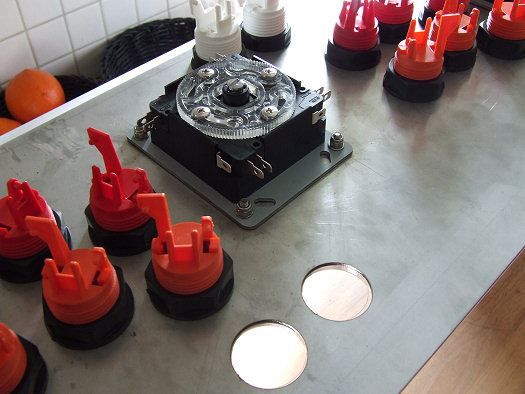 |
Finally I recieved my Sanwa balltop
joysticks and new buttons. Now it was time to make a new af much
better controlpanel in steel and plexi. The metal and plexi were
cut on a laser. You can mount your
joysticks invisible too, with this bracket:
Nanocade Invisible Joystick Bracket v2 |
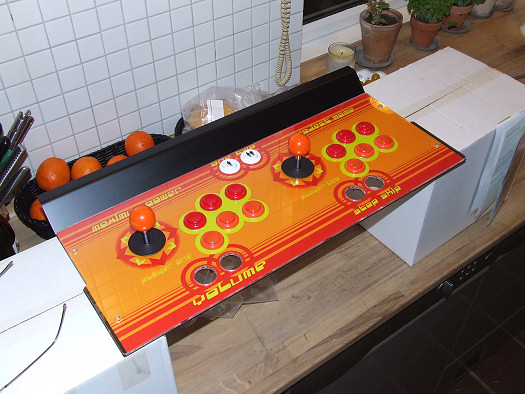 |
I also created my own custom made
controlpanel art in illustrator. This makes it so much more fun
to play and looks awesome to me :)
The result was absolutely stunning!!! |
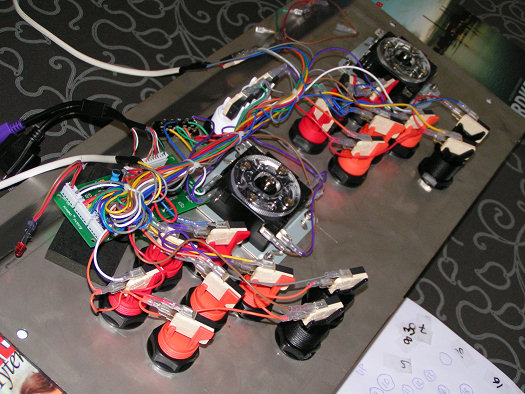 |
Time to wire up the whole thing. Takes a
long time, but eventually it worked fine. Im still using my
x-arcade PCB. Wondering if I should get an I-PAC? Maybe, maybe
not. |
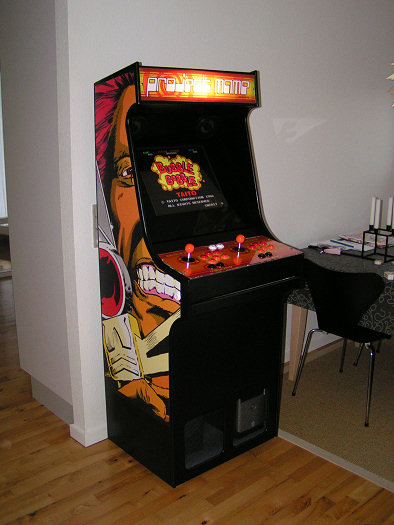 |
I decided to make my own custom made marquee
in adobe illustrator. I had it printed in a local copy-shop. The
result was very nice i think.
The final result after installing the new
controlpanel and marquee.
|
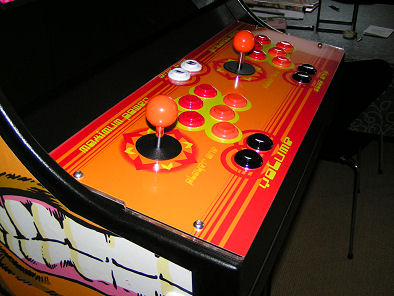 |
Another shot of the new controlpanel :D
You can mount your joysticks invisible too,
with this bracket:
Nanocade Invisible Joystick Bracket v2 |
|
|
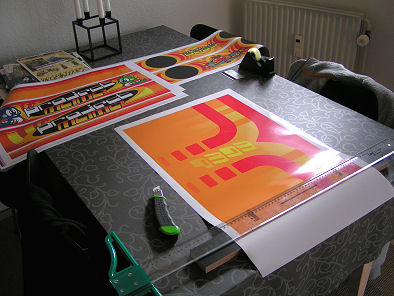 |
Finally i recieved my vinyl artwork for the
kickplate, speakers and front of controlpanel.
I also recieved a bezel artwork, but desided not to use it. It
was too confusing to look at. |
.jpg) |
Time to mount the artwork. |
.jpg) |
Here it's installed in the cabinet. It
wasn't as hard as I expected, the vinyl was exelent to use. |
.jpg) |
Here is the artwork in front of the
controlpanel. |
.jpg) |
And around the speakers. The monster in the
middle is from the original Galaga artwork. |
.jpg) |
Another picture. Hope you like it. |
|
|
 Join
our Facebook group and receive updates and discuss MAME cabinets
with fellow retro gamers: Join
our Facebook group and receive updates and discuss MAME cabinets
with fellow retro gamers: |
|
Page 4 / 5 - New Control Panel &
Artwork |
  |
|
|
|
If you decide to make your own MAME cabinet using my drawings, please feel free to
make a donation, as I'm trying to raise enough money to make a new
up-right cabinet, that's hard to do as a student. |
|

