Page 6 / 7
Design &
Construction +
software |
  |
|
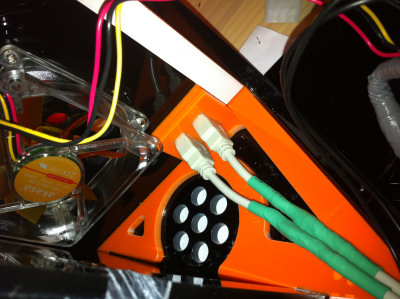 |
The USB plugs has been installed /
glued on. |
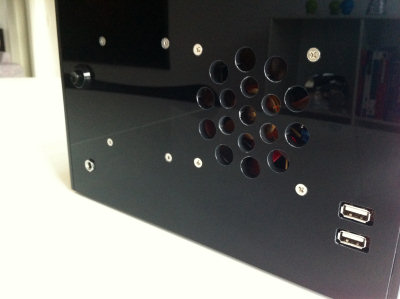 |
On the outside it looks more
professional than most panel mounting USB plugs you can buy for
this type of work. That's why I decided to make my own instead
and they also take up less space. |
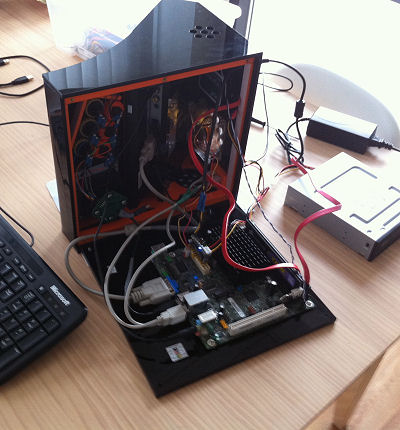 |
Windows XP is installed from an
external DVD writer. The day after I actually installed Windows
7 Starter edition instead, it's just runs that much better and
only uses about 5 sec more to boot.
As you can see, there really isn't
much room in the cabinet with all the cables installed. It was
very hard to close it afterwards. 10 % more space wouldn't have
hurt :D
|
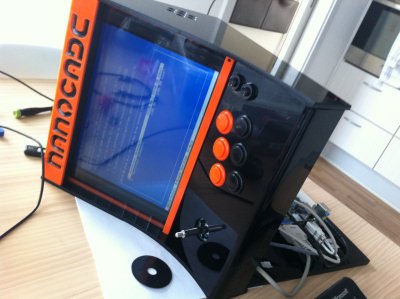 |
It's alive! Always a good
feeling when, against all odds, it actually works. Especially
when you have shortened most cables yourself.
It would have been much easier to
use a netbook instead :D And cheaper. It's actually designet to
fit a netbook too. |
|
|
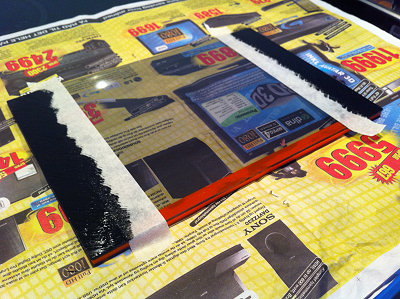 |
The cover for the screen is painted
in the sides to hide the monitor. It looks exactly like the
shiny black plexiglas on the other side. |
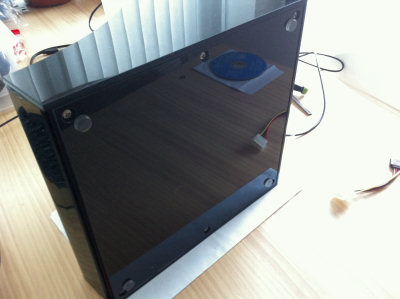 |
Finally the bottom panel is mounted
and some rubber feet is applied. It really took some effort to
get it all to fit in there. |
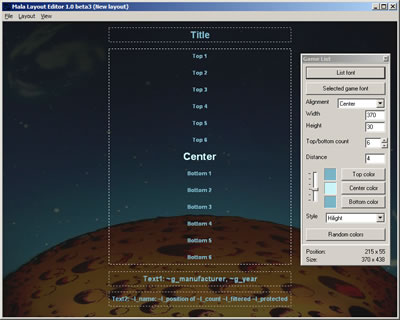 |
I decided to use a Front-end
called Mala FE. This is because it works with the UltraStik 360
via a plug-in that changes automatically between the different
mappings like 4-way, 8-way, 2-way, analogue ect. I also decided
that I needed a front-end that could show some info an history
about the MAME roms. I'm really interested in gaming history and
read a lot about it every day.
|
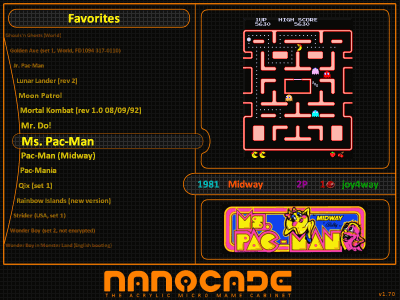 |
I also wanted a front-end that
could be totally changed to match the style of the Nanocade.
After working with the front-end for some days and changing it
about 7 times, hence v1.70, I ended up with this design.
It shows a screenshot, marquee, year, manufacturer, players,
number of buttons used and the type of control.
It looks more smooth in full
resolution. |
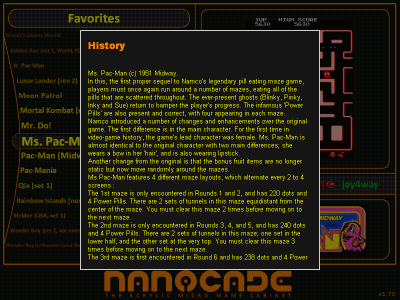 |
I also assigned a button to show
history and trivia about the individual games. There's loads of
information in the history.dat file in MAME and it is constantly
updated. I really love
this feature.
|
Also check out:
Upgrading the Nanocade
(2013)
(9.7" iPad 2 screen, new
motherboard, speakers etc.) |
 Join
our Facebook group and receive updates and discuss MAME cabinets
with fellow retro gamers: Join
our Facebook group and receive updates and discuss MAME cabinets
with fellow retro gamers: |
|
Page 6 / 7 - Design &
Construction + software |
  |
|
|
|
If you decide to make your own MAME cabinet using my drawings, please feel free to
make a donation, as I'm trying to raise enough money to make a new
up-right cabinet, that's hard to do as a student. |
|

