Page 4 / 7
Design &
Construction |
  |
|
|
|
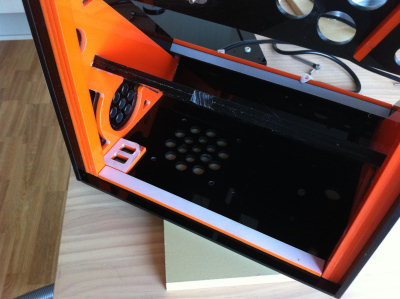 |
A small bracket for the two usb
ports is placed in the corner. This should increase the surface
area for the glue. Some moulding is also mounted to stop the
bottom panel from bending to the inside.
You can also see the grinding I
made to make the PicoPSU fit under the monitor panel. |
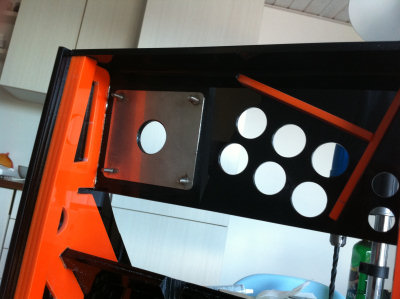 |
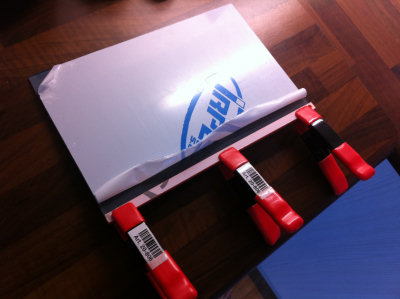
The control panel is reinforced
with adhesive to fill any gaps and also some moulding around the
button holes. I don't this is needed, but better safe than
sorry. |
 |
Yet another reinforcement and
another moulding to stop the bottom panel. |
 |
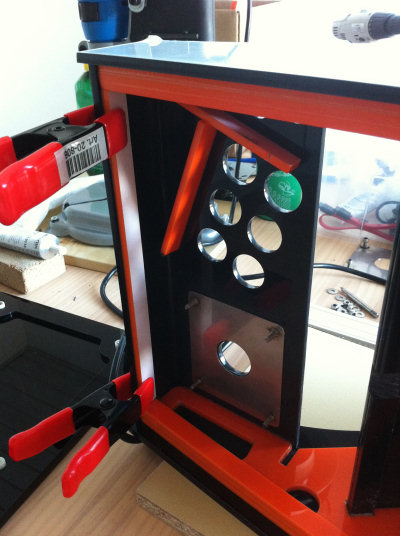
The bottom panel is installed to
drill the holes for the brass inserts on the exact place they
need to be. I don't think this can be done with enough precision
by measuring and then drilling the holes. I start with the same
size as the ones in the panel (4 mm), and then remove the panel
and then go to 5 mm and then finally 6 mm. It's important to go
in small steps when the drilling machine isn't mounted.
|
|
|
 |
Looks just perfect. Time to install
the inserts. |
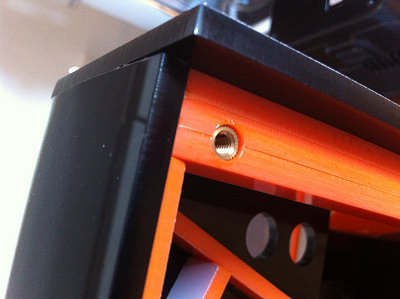 |
The inserts is placed in the holes
along with some epoxy to make them stay there for good. I really
love the these inserts, they look super professional and
compared to making the thread directly in the acrylics, these
inserts can be used again and again without ruining the thread. |
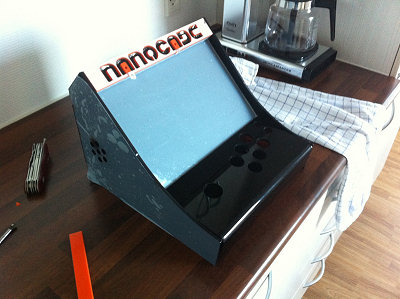 |
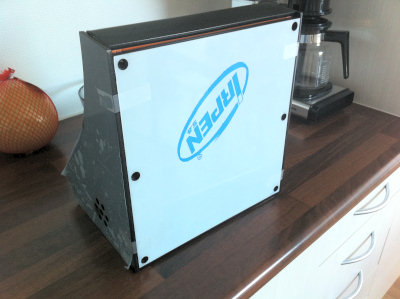
The cover for the monitor is
mounted behind the marquee, where it can be pushed upwards and
dragged out, for cleaning, installing the monitor ect. Simple
and effective system with no visible screws.
The cover is made from a 3 mm
grey transparent acrylic sheet with 49% transmission. This hides
the LCD monitor better and it makes the contrast look better.
The drawback is that it makes it a bit more dim. |
 |
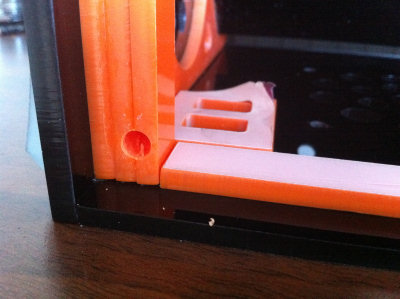
An orange moulding is placed in the
bottom to compliment the whole colour scheme.
This wasn't something I planned
from the beginning, just a last minute change.
|
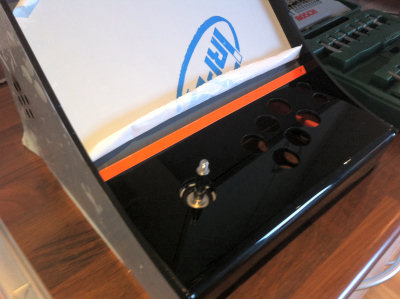 |
I think the orange moulding
looks really good. I drilled a hole in the corner to have
something to push the monitor cover upwards with.
I also installed the joystick to
see if it would fit. There in under 1 mm of space under the
joystick so I feared it wouldn't fit, but it did. Pew... Why all
these close calls?
|
Also check out:
Upgrading the Nanocade
(2013)
(9.7" iPad 2 screen, new
motherboard, speakers etc.) |
 Join
our Facebook group and receive updates and discuss MAME cabinets
with fellow retro gamers: Join
our Facebook group and receive updates and discuss MAME cabinets
with fellow retro gamers: |
|
Page 4 / 7 - Design &
Construction |
|
|
|
|
If you decide to make your own MAME cabinet using my drawings, please feel free to
make a donation, as I'm trying to raise enough money to make a new
up-right cabinet, that's hard to do as a student. |
|
