Page 3 / 7
Design &
Construction |
  |
|
|
|
|
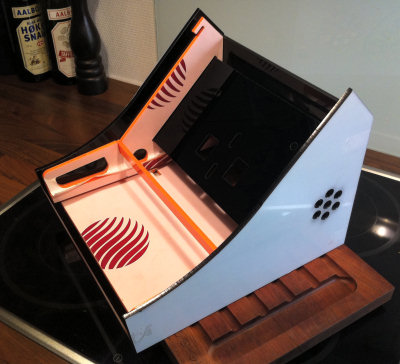 |
A bar is placed where the control
panel is ending for support. Later it turned out that there
wasn't room for it... Also it is not needed because the cabinet
is rock solid anyways. You
learn a lot from making a Plexiglas cabinet, because there isn't
much information to be found about it. |
 |
The edge of the top panel and back
panel is sanded down to make less of a gap between the two
panels.
|
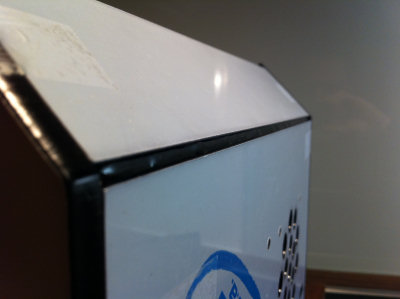 |
The gap is then closed with the UV
curing adhesive. I think this turned out much better than
expected. Almost any other angle on the cabinet, the panels meet
in an angle of 90 degrees to avoid these gaps.
|
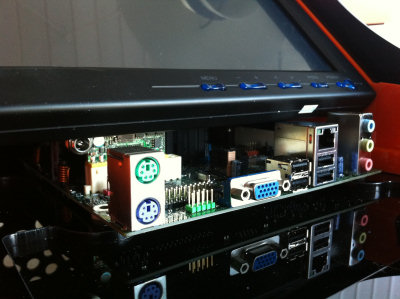 |
The monitor and motherboard is
installed to test if they fit. It's much closer than I like it to
be. I had to grind the monitor panel a bit to make the PicoPSU
fit. But for a moment there I thought that I was never going to
make the parts fit. Pew. It really is a tiny cabinet. |
|
|
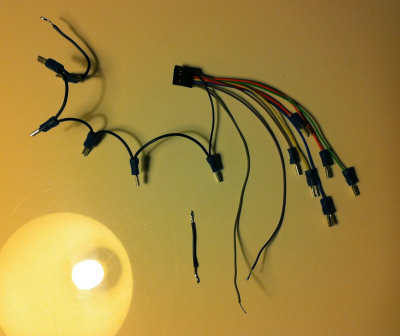 |
This is the finished harness for
the UltraStik 360 to connect to the pushbuttons. The 10 mm
buttons
|
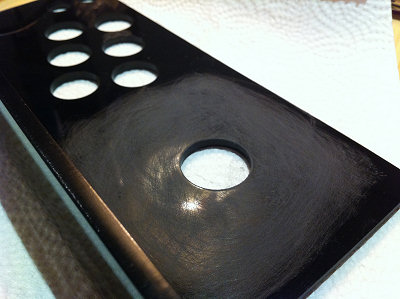 |
The back of the control panel is
sanded to make the epoxy stick better. The steel mounting
bracket is also sanded./font> |
 |
The joystick mounting bracket is
glued on with the epoxy 2-component solution. I have to use this
every time two different materials meet. It's very strong, but
not anything near the acrylic adhesive i use. Still, I recon you could
easily lift a car with the bonding strength between the bracket
and the control panel. I'm pretty sure this is never going to
brake apart. Especially not with the little force being applied
to the joystick. |
 |
The marquee is installed with the
acrylic adhesive and hold into place with some tape. I wish I
could have made a bigger marquee, but the monitor takes op all
the space in such a small cabinet. |
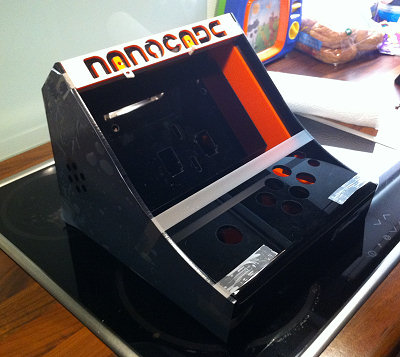 |
This is probably the part that
makes a MAME cabinet look like a MAME cabinet. The control panel
really is the heart of the machine, no doubt about it.
I finally decided to use the
heat bend control panel. It just feels much nicer to the hand
and eye, even if it doesn't have the perfect fit of the other
control panel. You just have to follow your heats in these
matters :)
It starting to look like a real
MAME cabinet now. It's really itching to rip off the protective
foil now. Do you feel it?
|
Also check out:
Upgrading the Nanocade
(2013)
(9.7" iPad 2 screen, new
motherboard, speakers etc.) |
 Join
our Facebook group and receive updates and discuss MAME cabinets
with fellow retro gamers: Join
our Facebook group and receive updates and discuss MAME cabinets
with fellow retro gamers: |
|
Page 3 / 7 - Design &
Construction |
|
|
|
|
If you decide to make your own MAME cabinet using my drawings, please feel free to
make a donation, as I'm trying to raise enough money to make a new
up-right cabinet, that's hard to do as a student. |
|
