Page 2 / 7
Design &
Construction |
  |
|
|
|
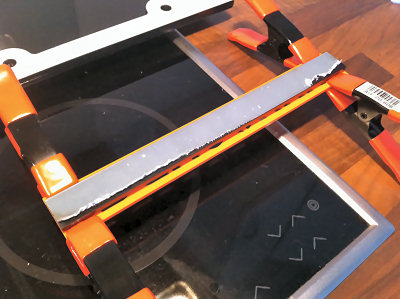 |
The orange marquees is glued to the
black back panel. This should make Nanocade easier to read.
|
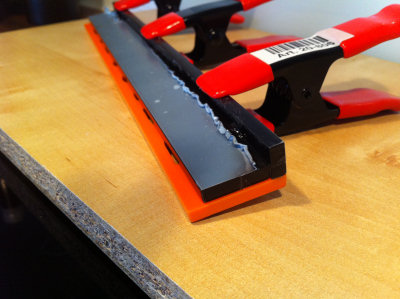 |
This tiny piece is what's directly
over the screen when looking at the cabinet. |
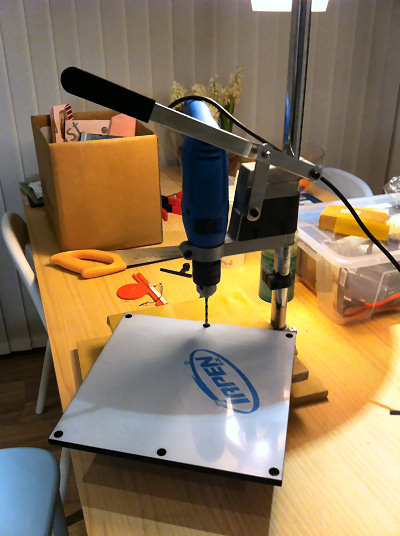 |
There are six large holes on the
bottom panel. I need to drill smaller holes in the middle. The
large holes should cover the screw heads when installing the
panel. |
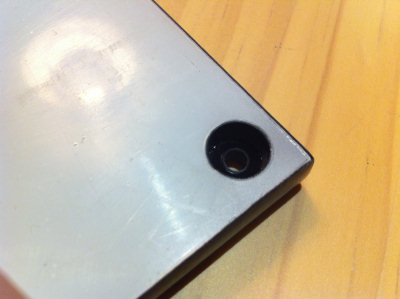 |
It's not that hard to drill holes
in acrylic sheets. But if you don't have a top drilling machine,
it's virtually impossible and you will tear the acrylics apart.
Good advice: Get some sort of
mounting for your drill or a real top drilling machine. Use an
old worn drill. The sharper it is, the more likely it is to tear
the acrylics apart, or even better, get special drills for
plastic. They will not tear the material apart. |
|
|
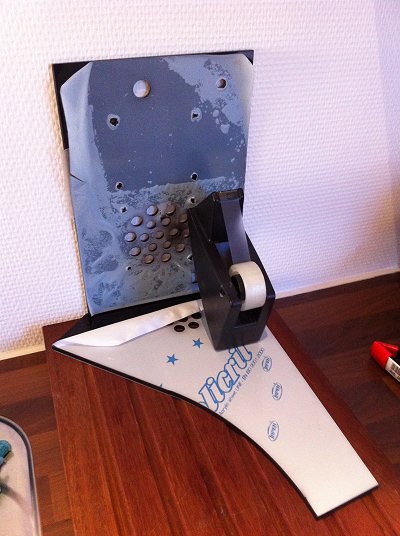 |
The back panel and one of the sides
is glued/bonded in the exact right angle. The tape dispenser is
just making sure the angle stays 90 degrees.
Working with plastic sheets is
much more kitchen friendly than wood working.
The reason I use the kitchen is
because it's the only room with a powerful exhaust device. The
adhesive is very unhealthy. |
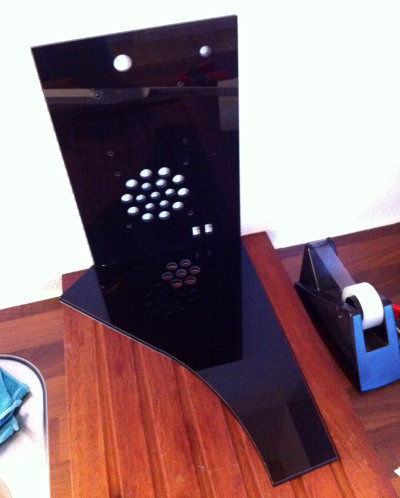 |
The initial bond is made and it's
time to remove the foil to see how black acrylics really look.
Only on the inside though, I would hate to scratch it before
it's done. |
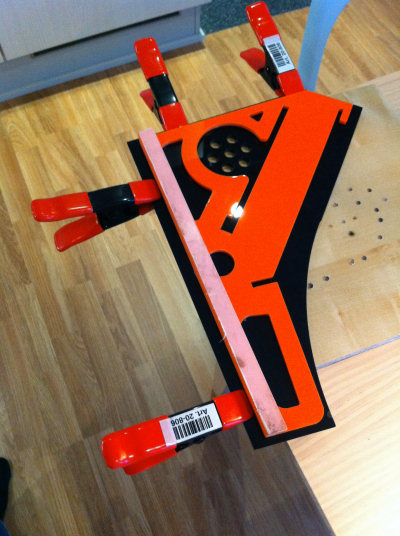 |
This is where I mounted the
moulding for the side of the cabinet. The adhesive works in only
90 sec, so I need to be quick with the gluing part and slap it
on the side very fast. That's why I use the clamps for placing
the moulding without having to measure op again. |
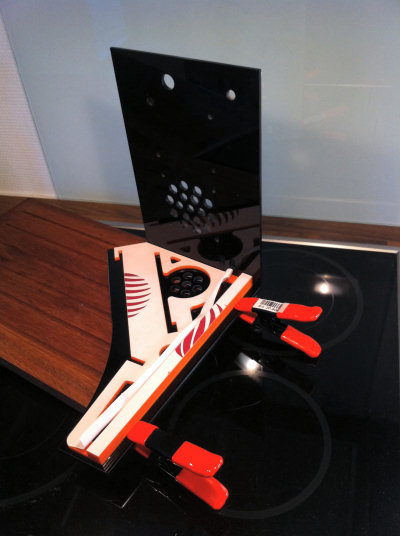 |
And the other side too. That's a
little bit easier because of the back panel. Now we are getting
to the exciting part. |
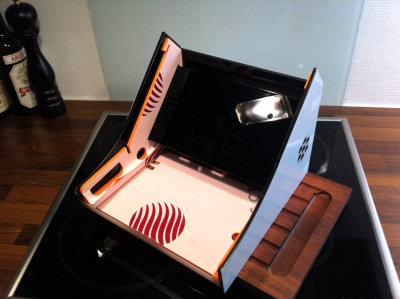 |
The two sides are glued together
along with the monitor panel. I actually forgot the panel
for the monitor and remembered it just before the glue bonded.
Pew... The bottom is just
for keeping the two sides perfectly parallel. |
Also check out:
Upgrading the Nanocade
(2013)
(9.7" iPad 2 screen, new
motherboard, speakers etc.) |
 Join
our Facebook group and receive updates and discuss MAME cabinets
with fellow retro gamers: Join
our Facebook group and receive updates and discuss MAME cabinets
with fellow retro gamers: |
|
Page 2 / 7 - Design &
Construction |
  |
|
|
|
If you decide to make your own MAME cabinet using my drawings, please feel free to
make a donation, as I'm trying to raise enough money to make a new
up-right cabinet, that's hard to do as a student. |
|

