Page 3 / 4
Paint Job & Control
Panel |
  |
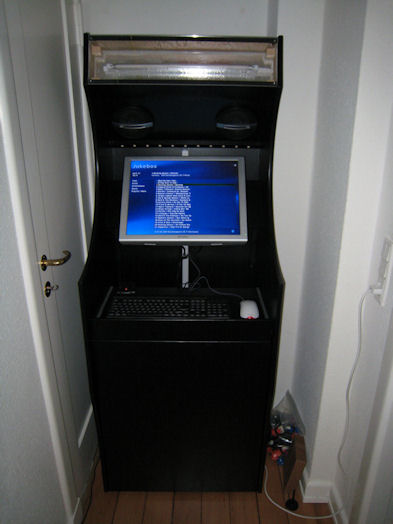 |
I sanded the cabinet, painted it with
primer, sanded it again and finally painted it with a black oil
based, semi-gloss paint from Sadolin inside and outside. It's
beginning to look like an arcade!
After the paint had dried I mounted a pair
of rather cheap Sony Xplod 5 1/4 carspeakers which I ordered
from Pixmania.com.
I also mounted the 20" 4:3 Mirai TFT
screen. For the mount I cut out a rectangular board of 12mm
MDF/HDF board and screwed a support frame in each end, which I
screwed onto the sides of the cabinet. I then drilled holes
which fitted the VESA mount 100x100 on the screen. |
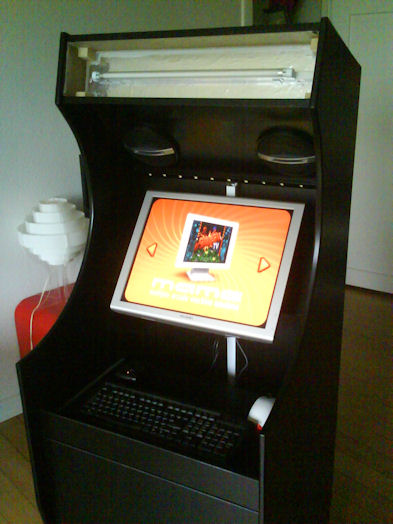 |
Another view of the cabinet. The white bar in the backgound is a
cable concealer, used to collect all the runaway cables in the
cabinet.
Man, it's starting to look like a real arcade. Now let's see the
artwork.
|
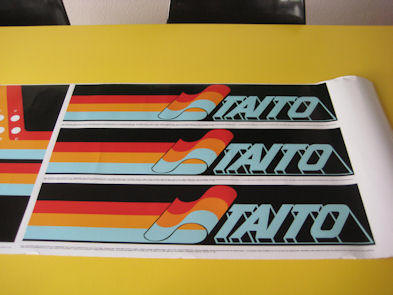 |
Since I like the classical artwork from
Taito I found the logo on the internet and modified it to suit
the cabinet in Adobe Illustrator. I especially like the 80s feel
to it and the wave.
The artwork is self-adhesive and was made by
a company in Aalborg, Denmark, Highly recommendable.
|
|
|
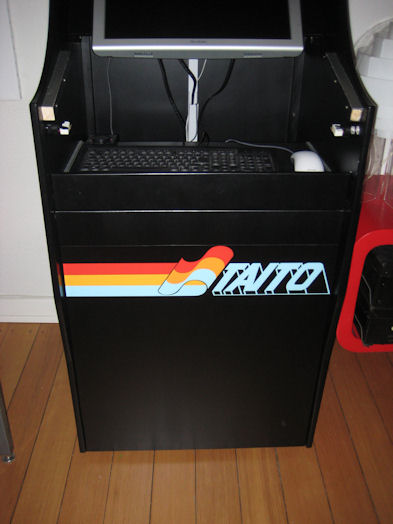 |
I mounted the stickers on the kick plate and one on each side of
the cabinet. Looking good and retro. Just how I like it!
The wooden supporters above the keyboard was mounted to support
the control panel. Under the supporters I have drilled two holes
on each side of the cabinet for mounting of buttons for a
flipper machine emulator. |
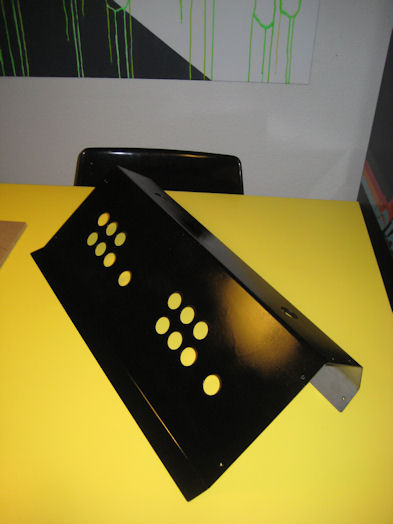 |
Finally it's time to mount the controls. My father has access to
a CNC laser cutting machine and made the control panel,
according to the autocad drawing my brother made. The control
panel can however also be made in wood or plexi/lexan.
For each player there are room for the joystick, 6 action
buttons. Two buttons for choosing players in front and not
visible on the photo there are two buttons for adjusting the
volume and two buttons for skipping forward or backwards in
music or coin-in for one or two players.
I painted the
control panel, but that wasn't really necessary. I just figured
that the sticker would fasten better if the control panel was
painted first.
|
 |
I also designed a self-adhesive sticker for the control panel in
Adobe Illustrator. |
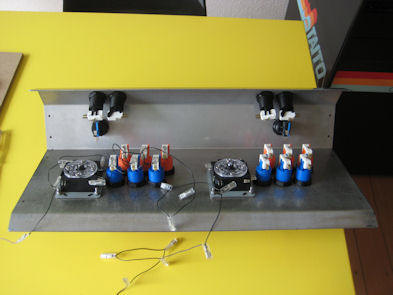 |
After the sticker was put on the control panel I began mounting
the Sanwa joystick, buttons and microswitches on the control
panel and afterwards I attached the MiniPac arcade unit and
wiring harness.
The MiniPac controller and harness simply
translates every push or movement with the joystick to keyboard
commands.
|
 |
I know, it looks totally insane, but there is actually logic
into mounting the wires. The hard part was not mounting the
wires to the microswitches, but to make sure that all the wires
could be reachable from the MiniPac control unit. I had to try
several layout sequences in order to cover the whole
controlpanel and leave wires on each side for the two buttons on
the side of the panel for the flipper emulators. Phew! |
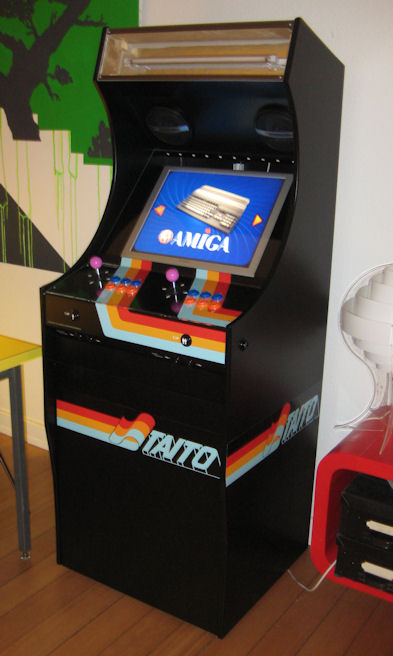 |
Oh yeah baby! Now were getting there. The control panel is
mounted in the cabinet. Only four screws are mounted on the
control panels, but it is sturdy as hell, due to the fact that
it is metal. I also cut out a a plexi/lexan plate with the exact
same layout as the top of the controlpanel to protect it from
scratches.
After I mounted the control panel I couldn't
hold back anymore and played a great deal of the old arcade
classics and some good old Amiga games the whole night.
Just make sure you don't have to go to work the day after, oddly
enough my boss at work didn't share my appreciation of old
gaming classics, when I came in late at work. |
|
|
 Join
our Facebook group and receive updates and discuss MAME cabinets
with fellow retro gamers: Join
our Facebook group and receive updates and discuss MAME cabinets
with fellow retro gamers: |
|
Page 3 / 4 - Paint and control
panel |
|
|
|
|
If you decide to make your own MAME cabinet using my drawings, please feel free to
make a donation, as I'm trying to raise enough money to make a new
up-right cabinet, that's hard to do as a student. |
|
