Page 4 / 4
Bezel, Marquee and
TaitoRama |
 
|
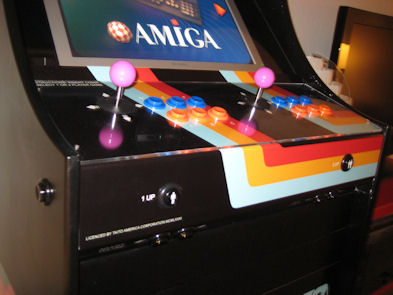 |
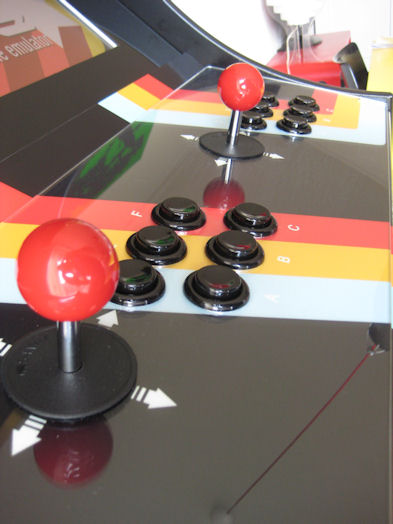
Here is a better view of the plexi/lexan plate on top of the
control panel. I am very content with the joystick and button
layout of the board and the finish.
I was however not
satisfied with the colors on them so I later changed them to
black and a red top for the joysticks. |
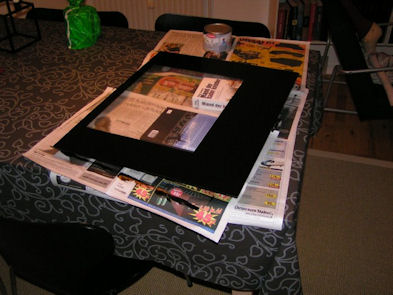 |
Now the cabinet needed a bezel to cover up
the TFT screen mounted in the cabinet. I marked where the eges
of the monitor is and painted on the back of the plexi to give
it a nice and glossy look.
Photo is from
ProjectMame, since I didn't take any pictures of the proces, but
the technique is the same ;o)
|
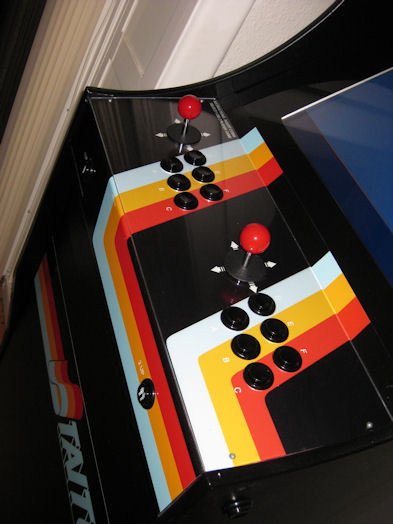 |
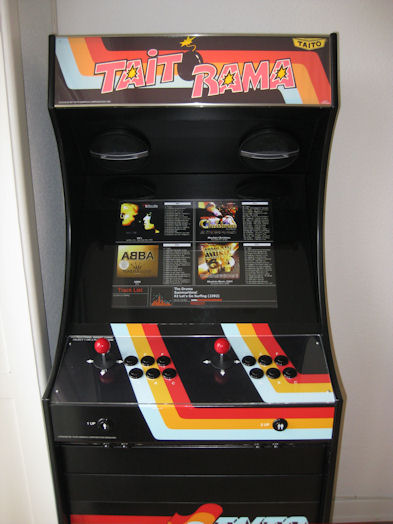
A view of the control panel and the bezel. I changed the buttons
to black and the top of the joysticks to red for a bit more
authentic retro look.
Man it's getting better and better.
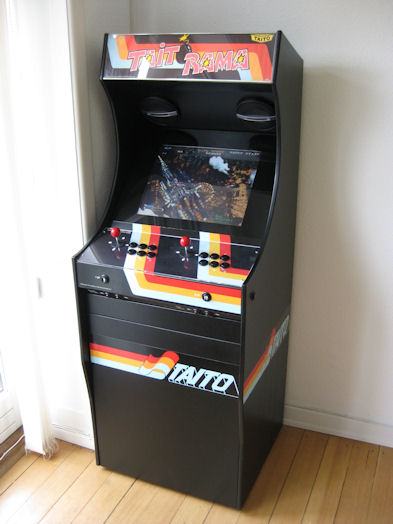
Now for the really satisfying part. The marquee.
You can mount your joysticks invisible too,
with this bracket:
Nanocade Invisible Joystick Bracket v2 |
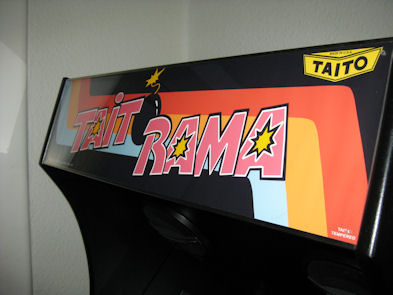 |
Since my cabinet was made with inspiration
from a Taito arcade cabinet, the name of the arcade had to be
TaitoRama. I modified the original BombJack marquee in Adobe Illustrator
and changed the letters to TaitoRama. I then changed the
background, added some logos and the Taito Tempered logo at the
bottom.
I mounted the marquee sandwiched between two
layers of plexi/lexan and fastened them with a stainless steel L
shaped profile my father made.
|
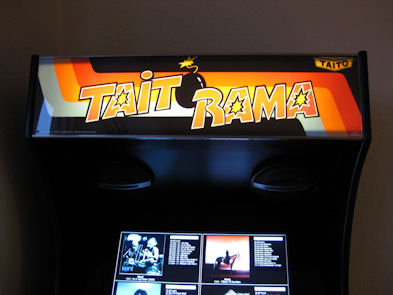 |
And the marquee with lights! Wow, looks stunning. |
|
|
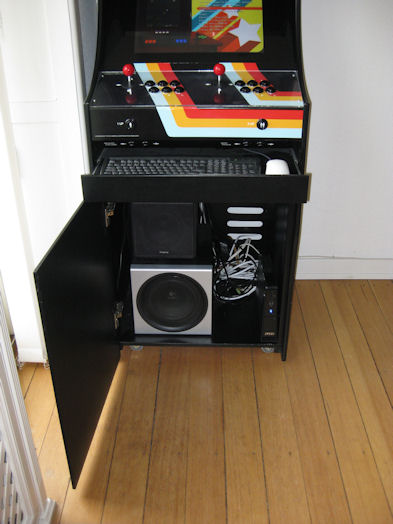 |
Initially I mounted a homebuilt celeron single-core processor
system, but I just recently got a pretty sweet deal on a
dual-core MSI Wind Box DE200 EU, which I mounted in the cabinet.
The advantage with the MSI system is a rather capable system
with a very low energy consumption, 30watt at idle. I have
connected an Altec-Lancing subwoofer system for the two Sony
Xplod car speakers in the cabinet and a second more potent
subwoofer from logitech for the speakers in my apartment. |
 |
I installed the arcade frontend Maximus
Arcade and designed a custom skin that fits the look of the
arcade. It contains a mame emulator, amiga emulator, future
pinball emulator, and SK Jukebox. Looking good! |
 |
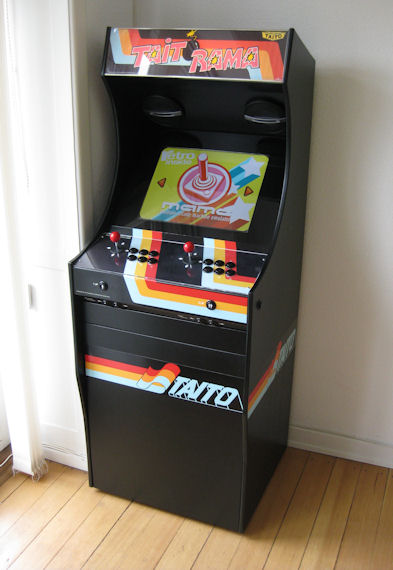
300 hours of work, frustration and sawdust
but it's been worth it. The TaitoRama is now the center of all
the entertainment at my place. It works as an arcade, a
mediacenter and a jukebox connected to the TV.
You can mount your joysticks invisible too,
with this bracket:
Nanocade Invisible Joystick Bracket v2 |
 |
Radiant Silvergun! |
 |
SK Jukebox. Still the best arcade jukebox out there. It's always
a hit a parties and nobody can complain about the music when
they have chosen it themselves ;o) |
 |
One last photo for good measure. Hope you feel inspired to go
and make one for yourself. |
|
|
 Join
our Facebook group and receive updates and discuss MAME cabinets
with fellow retro gamers: Join
our Facebook group and receive updates and discuss MAME cabinets
with fellow retro gamers: |
|
Page 4 / 4 - Bezel, marquee and
TaitoRama |
|
|
|
|
If you decide to make your own MAME cabinet using my drawings, please feel free to
make a donation, as I'm trying to raise enough money to make a new
up-right cabinet, that's hard to do as a student. |
|
