Page 2 / 4
Woodworking
II |
  |
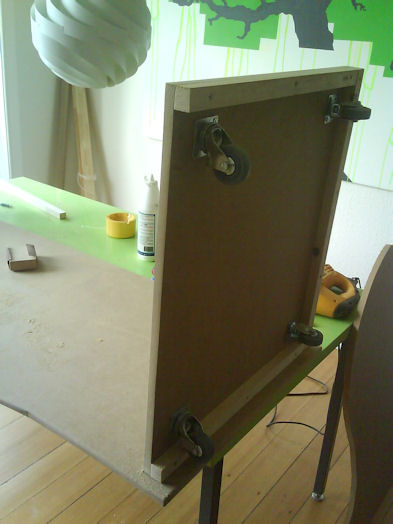 |
From the square bottom of the 16 mm MDF/HDF
board I attached wooden support frames and glued and screwed
them onto the square board. Then I mounted some heavy duty
wheels at my local retailer. Finally I mounted the bottom to one
of the cabinet sides with glue and some screws.
I
purposely mounted the board a bit high, so the wheels wouldn't
be visible once the cabinet is finished.
|
 |
From the rest of the 16mm MDF/HDF board i
cut out two rectangular boards and attached some wooden support
frames. Finally I glued and screwed them to the side of the
cabinet. They will later serve as a lightbox to the marquee
whilst making the cabinet a bit sturdier. Make sure you leave
room to the marquee. |
 |
I cut out the back side for the cabinet in 12mm MDF/HDF board
and attached it to the top and bottom of the cabinet and
attached wooden support frames for support. Remember to use glue
and screws. Adding a cross support frame would have made it even
sturdier. I will do that the next time I build one.
It
was getting late in the evening and my neighbors were pretty fed
up with me, so I would have to wait until tomorrow to mount the
side of the cabinet. |
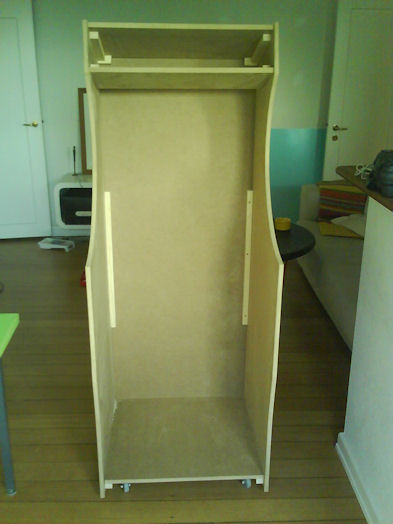 |
Arise my son! A real satisfying moment to
turn it upright. Again adding a cross section would further
stabilize the cabinet. |
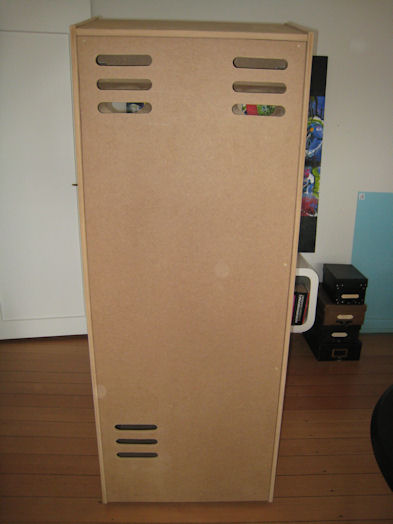 |
Now armed with a camera instead of the
camera on my mobile phone I turned the cabinet over and drilled
some venting holes. Since I don't have a milling machine I
drilled two holes with a 27mm drill and used a sabre saw to cut
out between the holes.
Next time I would probably make
the venting holes a bit smaller, but you can't get enough
ventilation. |
|
|
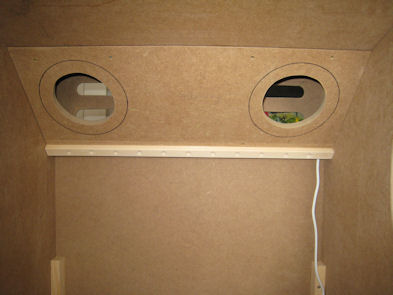 |
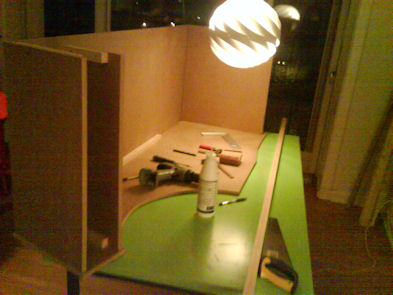
The next step was to
mount the board which will hold the speakers. I cut out a
rectangular board and mounted a wooden support frame on the
board which later will support the plexiglass.
I also
drilled some holes in the wood that will help removing heat from
the newly bought 20" TFT LCD screen. I drilled and sawed out the
holes for the speakers with the sabre saw.
|
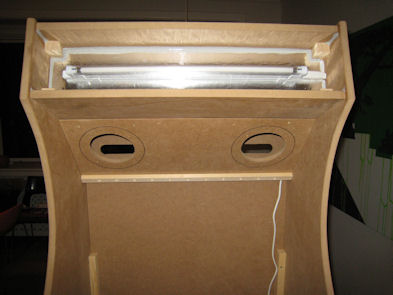 |
For the marquee housing I cut out a small
board which fitted into the top and glued it on the support
frames. I used silicone based paste to make it lightproof and
then I used silver foil to make it reflective. Finally I mounted
a 13 watt, 53 cm, flouresant kitchen lamp which I found at my
local retailer. Perfect for a marquee. |
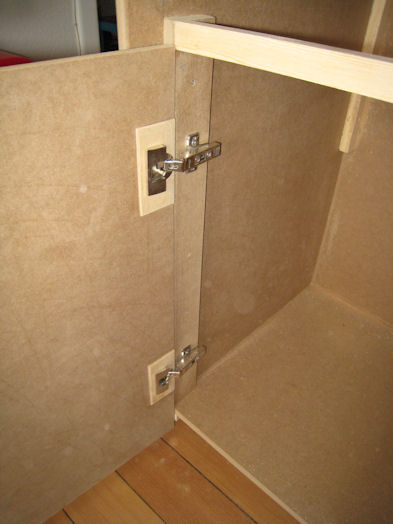 |
I mounted two strips of 16 mm MDF/HDF board
with glue and screws to support the kitchen hinges and the door.
Unfortunately I had run out of 16mm MDF/HDF board so I had to
make wooden spacers for the hinges, otherwise the hinges would
be visible on the front. Making the door to the cabinet was
probably the single most timeconsuming element of the build. But
that was due to lack of the right tools and running out of 16mm
MDF/HDF board.
Luckily it worked like a charm and the
door works perfectly to this day. |
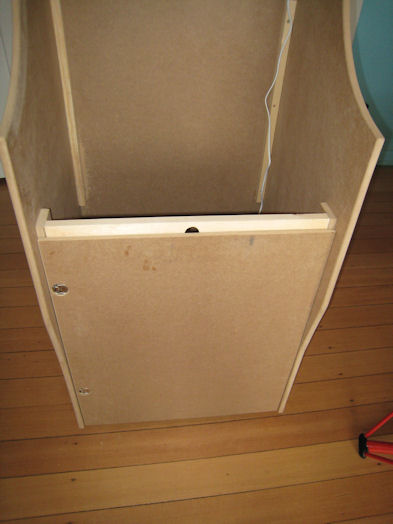 |
A view with the door closed. The holes from
the hinges were covered in a cutout of round shaped plastic to
protect the hinges and covered with filler. After a light
sanding you never knew there was a hole.
The small hole in the cross section is made so you can open the
door and push out the drawer which will hold the keyboard and
the mouse. You could also mount a knob for the drawer, but I
like when it's not visible |
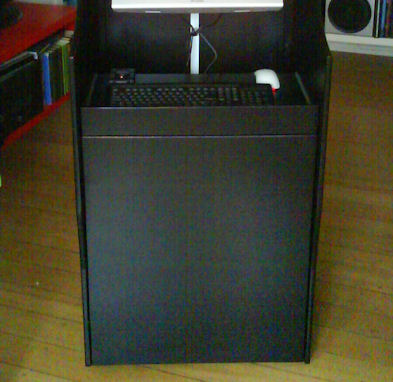 |
Unfortunately I don't have a photo of the
building of the drawer to the keyboard and mouse, but it was
fairly simple to make ;o)
I cut out a rectangular board of 12mm
MDF/HDF board for the base of the drawer and mounted a wooden
support. Then I cut out a second 12mm MDF/HDF strip for the
front of the drawer and mounted it to the support, so it was in
alignment with the front door to the cabinet. Then I mounted two
old drawer sliders which I mounted to the side of the base of
the drawer and finally I mounted them onto the sides of the
cabinet.
For opening the drawer I have to open the
front door, which is a drawback, but atleast it's not visible. A
suggestion could be to mount easy touch drawer sliders, which
you can press inwards and then the drawer will open. Well, let's
see the cabinet in full size |
|
|
 Join
our Facebook group and receive updates and discuss MAME cabinets
with fellow retro gamers: Join
our Facebook group and receive updates and discuss MAME cabinets
with fellow retro gamers: |
|
Page 2 / 4 -
Woodwork part two |
|
|
|
|
If you decide to make your own MAME cabinet using my drawings, please feel free to
make a donation, as I'm trying to raise enough money to make a new
up-right cabinet, that's hard to do as a student. |
|
