Page 2 / 4
Painting &
Installing |
  |
 |
Then two layers of paint.
The colour is beige, looks white on the
picture though.
|
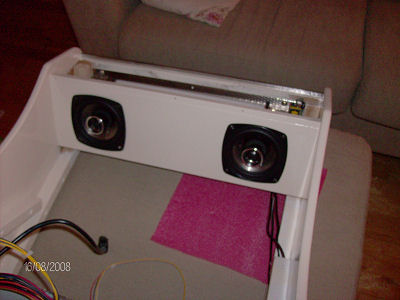 |
Time for mounting the speakers. Not the
best speakers, but they will do for now. |
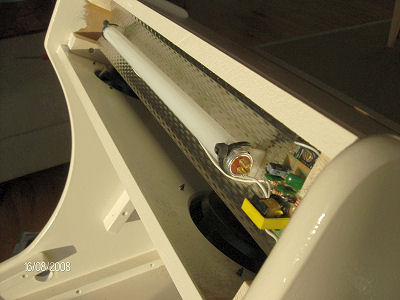 |
The fluorescent light is mounted after
the speakers. It is a 12 volt work light for cars that has been
modded.
|
 |
The amplifier is bought on Ebay. It's 2 x
8 watt RMS and runs on 12 volt. Perfect for this project and
more than powerful enough for this project, that's for sure!
|
|
|
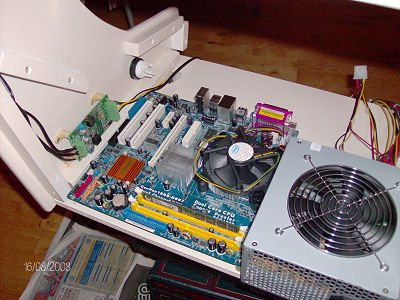 |
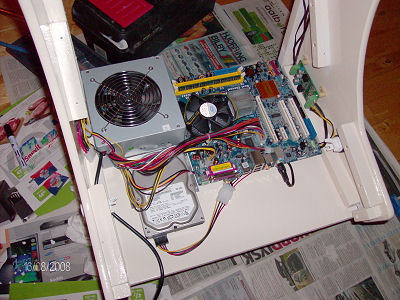
As you can see there is not much more
space than needed. I really tried to make this cabinet as small
as possible.
Motherboard and PSU is mounted.
|
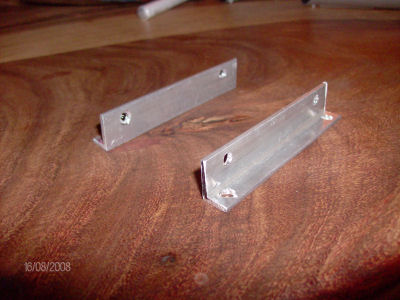 |
I made these aluminium mounts for the
hard disk. I needed something small, so I had to make it myself. |
 |
Rest of the space is needed for the
monitor and control panel. Tight fit, but everything is there.
|
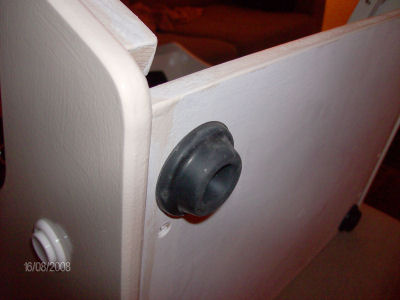 |
Big foot. Large rubber feet mounted.
|
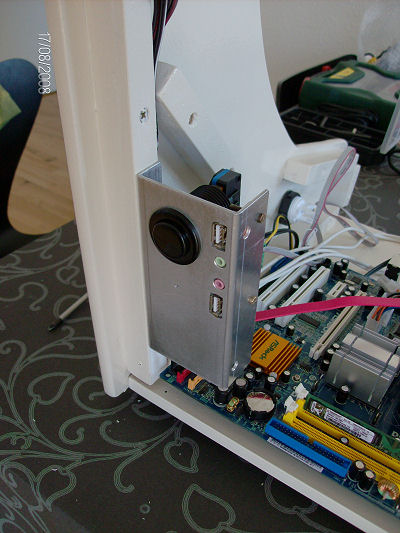 |
Control panel for on/off, 2 x usb and audio installed. |
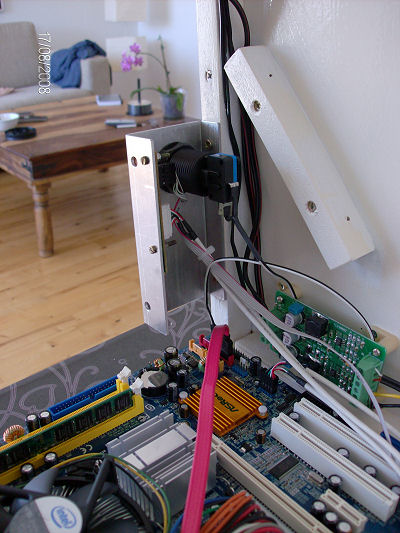 |
The other side of the panel. As you can see, it's a standard
pushbutton I have used for power button to the motherboard. |
 |
Finally the monitor is installed :D
I made a lot of scratches to the cabinet installing this
monitor, but that's ok, I will paint all the scratches when it
is completely finished.
You just have to accept that ;) |
|
|
 Join
our Facebook group and receive updates and discuss MAME cabinets
with fellow retro gamers: Join
our Facebook group and receive updates and discuss MAME cabinets
with fellow retro gamers: |
|
Page 2 / 4 - Painting &
Installing |
|
|
|
|
If you decide to make your own MAME cabinet using my drawings,
please feel free to make a donation, as I'm trying to
raise enough money to make a new up-right cabinet, that's hard
to do as a student. |
|
