Page 4 / 8
Design &
Construction |
  |
|
13/04/2012
|
|
|
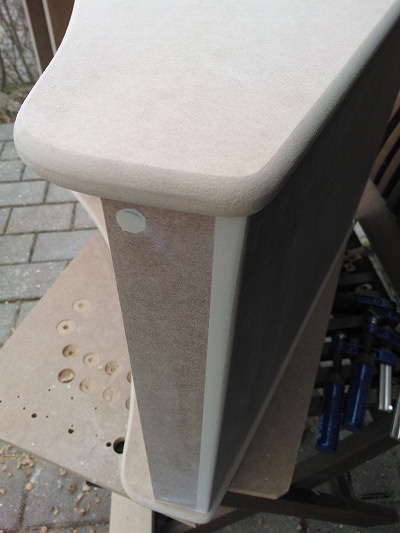
Front panel with filler sanded down. After primer and paint, you
shouldn't be able to see the gap that used to be there. |
|
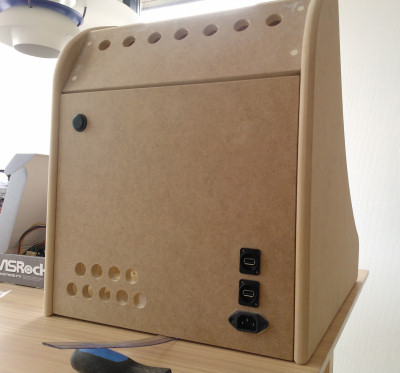
Fits perfectly. I really like the USB plugs from Neutrik and I
would like to thank Arcadeparts.de for providing them to this
project.
The push button in the top is power button, connected to the
mainboard (not yet). |
 |
I decided to make holes for the speakers in the back panel.
Originally I intended to place the speakers on the sides, but I
think this would ruin the look of the cabinet. Maybe it seems
strange that the speakers will face backwards, but this is quite
common in flat TV and LCD monitors today. I hope it will work
well. |
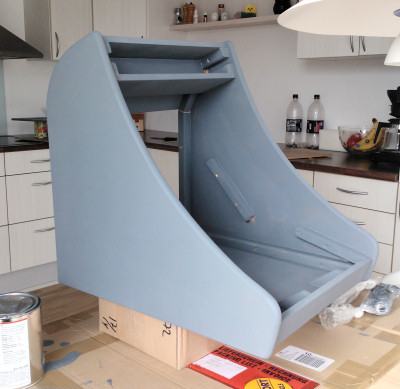 |
The cabinet has been primed and waiting for a second coat. I
colour my primer light grey to give it a better base for the
paint. Only white benefits from a white primer IMO. |
 |
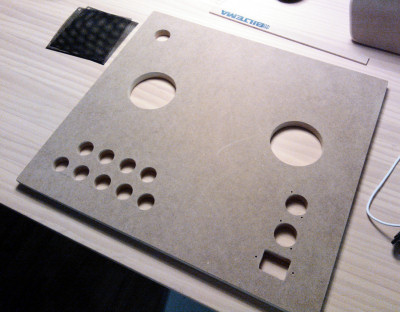
Back panel primed on one side. |
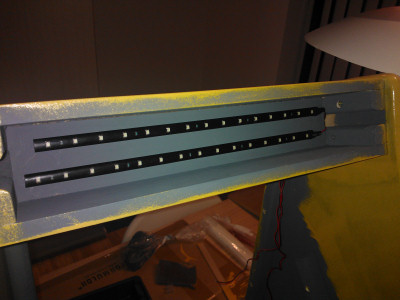 |
I just couldn't wait to try out my new LED strips. Two strips
with 15 LEDs on each, totalling 30 LEDs.
They are self adhesive and took me about 1 minute to mount. The
price is about $2 including shipping for each strip. |
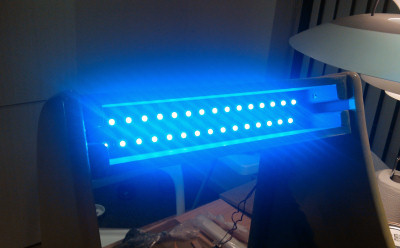 |
WOW that's blue 'n' bright!
It's actually not as blue in real life, but still more than I
would like it to be. Looks OK with the marquee in front though.
If you could find one that is more white, this is the perfect
backlight for a MAME cabinet. Power efficient, cheap, no heat,
good light distribution and lasts 60.000-100.000 hours! |
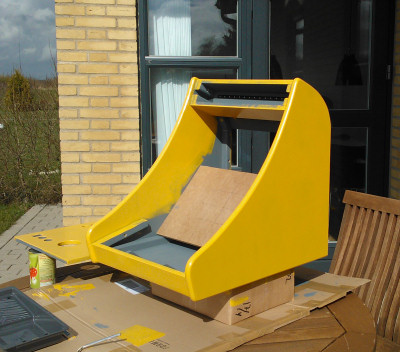 |
I decided to paint the cabinet warm yellow. I don't know what I
think about the colour yet, but hopefully it will grow on me.
This is actually the second layer of paint, because it just
looked too crappy after the first layer :)
I think it need one layer more to be perfect. |
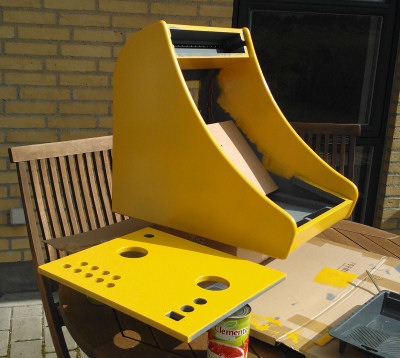 |
Here is the back panel. It's a pain in the *** to paint those
air vents in the bottom. Why didn't I just make one 60 mm hole
and install a silent fan :).
Just kidding - I love passive cooling!
Maybe it's time to make a spec sheet for the cabinet?
Come back tomorrow for updates... |
|
|
 Join
our Facebook group and receive updates and discuss MAME cabinets
with fellow retro gamers: Join
our Facebook group and receive updates and discuss MAME cabinets
with fellow retro gamers: |
|
Page 4 / 8 - Design &
Construction |
|
|
|
|
If you decide to make your own MAME cabinet using my drawings, please feel free to
make a donation, as I'm trying to raise enough money to make a new
up-right cabinet, that's hard to do as a student. |
|
