Page 3 / 3
Design &
Construction |
  |
|
I would like to thank ArcadeShop.de for sponsoring some of the parts for this
project. I can definitely recommend Arcadeshop.de for their great
support and great products. Now go buy some pushbuttons and
joysticks:

|
|
.JPG) |
The other side looks just as good
and maybe even more distinctive. |
.JPG) |
Time to apply the varnish. Look how
big a difference the varnish does to the American Walnut. It
really adds depth. |
.JPG) |
The result is much better than I
even dared to hope for. Looks totally professional and to my
opinion it makes it look very exclusive.
|
.JPG) |
The other side.
This will fit beautifully under my
plasma! :)
|
|
|
 Join
our Facebook group and receive updates and discuss MAME cabinets
with fellow retro gamers: Join
our Facebook group and receive updates and discuss MAME cabinets
with fellow retro gamers: |
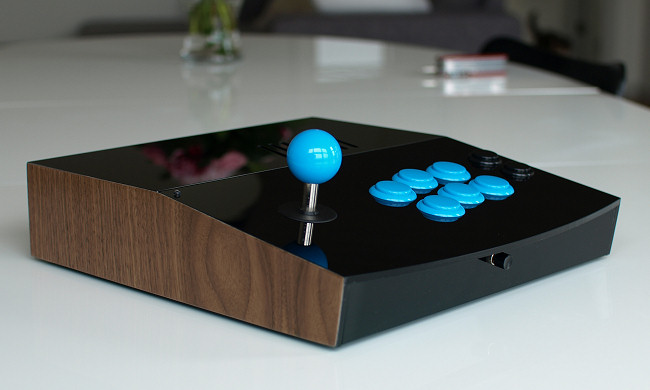
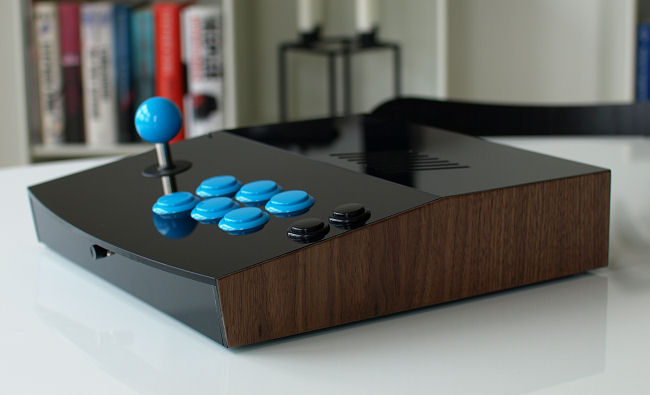
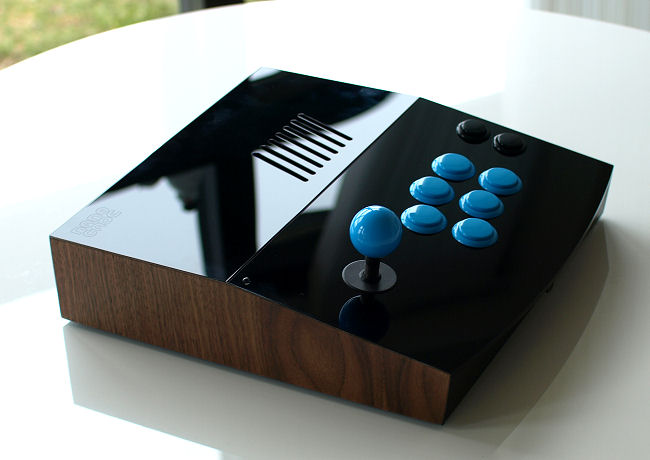
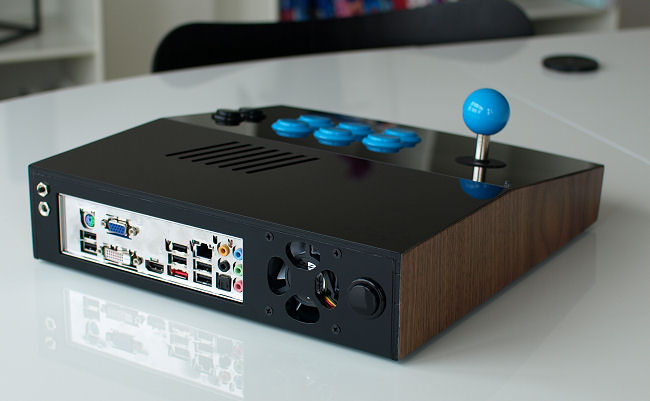
The finished econ! - Complete
with Maximus Arcade interface
|
econ is for sale:
Go here -
BYOAC sale thread

|

|
|
 |
 |
econ is for sale:
Go here -
BYOAC sale thread
|
|
Page 3 / 3 - Design &
Construction |
  |
|
|
|
If you decide to make your own MAME cabinet using my drawings, please feel free to
make a donation, as I'm trying to raise enough money to make a new
up-right cabinet, that's hard to do as a student. |
|

