|
Step by
step
The making of the Nanocade
ArcadeStik
Project MAME - Weecade - TaitoRama
- Nanocade - ArcadeStik
- econ
__________________________________________________
Page 3 / 3
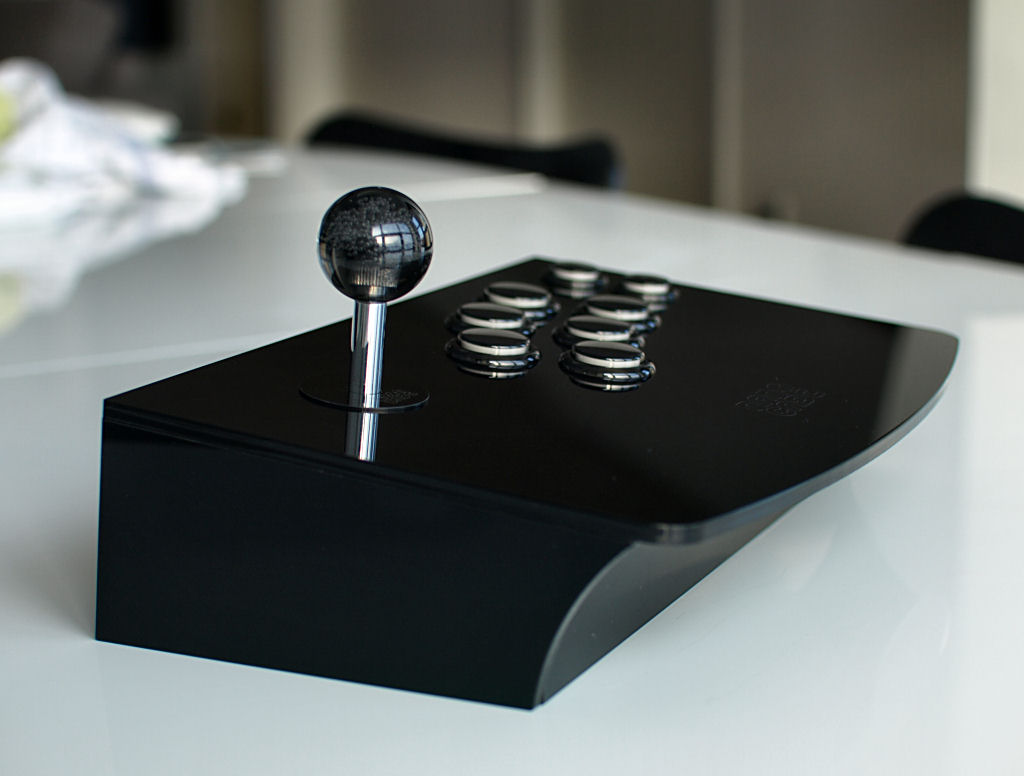
The finished Nanocade ArcadeStik |
  |
|
The back ground for building the
ArcadeStik KIT is that I wanted to make a nice arcade joystick
that looked better than the ones you can buy from X-arcade and
others and at the same time is very easy to build. I think I
accomplished the latter, after receiving my kit, only two hours
passed before I had a working arcade joystick. I let you be the
judge on how it looks. After all, looks are totally subjective.
Buy the
ArcadeStik KIT here
I would like to thank Andy at Ultimarc.com
and ArcadeShop.de for sponsoring some of the parts for this
project. I can definitely recommend both places for great
support and great products. Now go buy some pushbuttons and
joysticks.


|
|
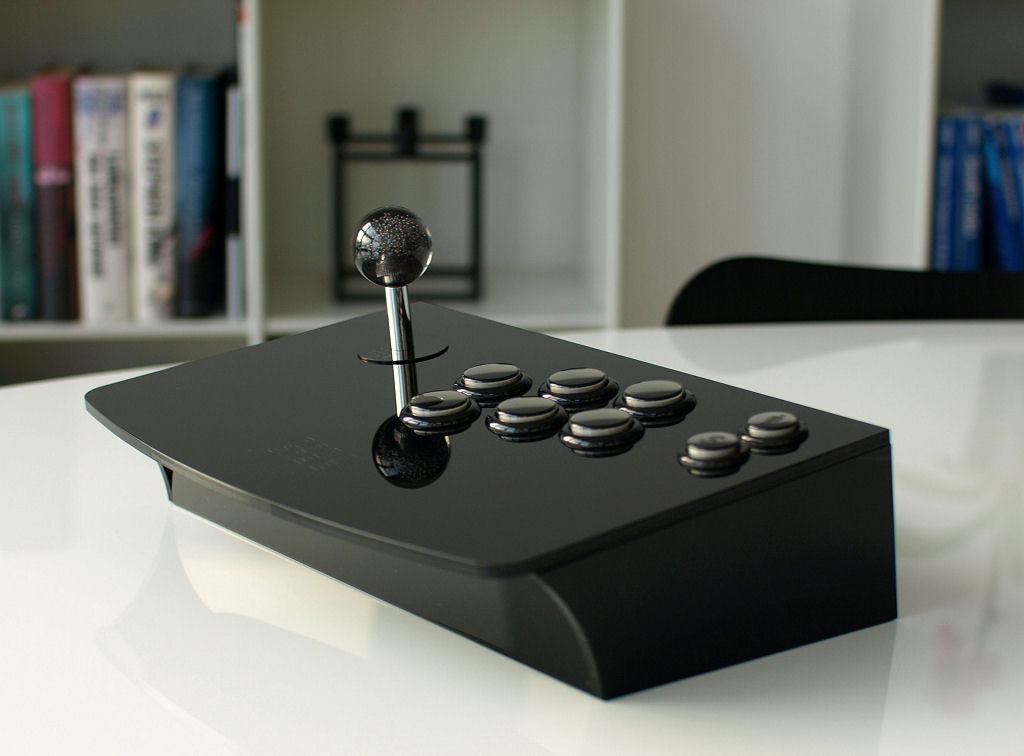
Front view
|
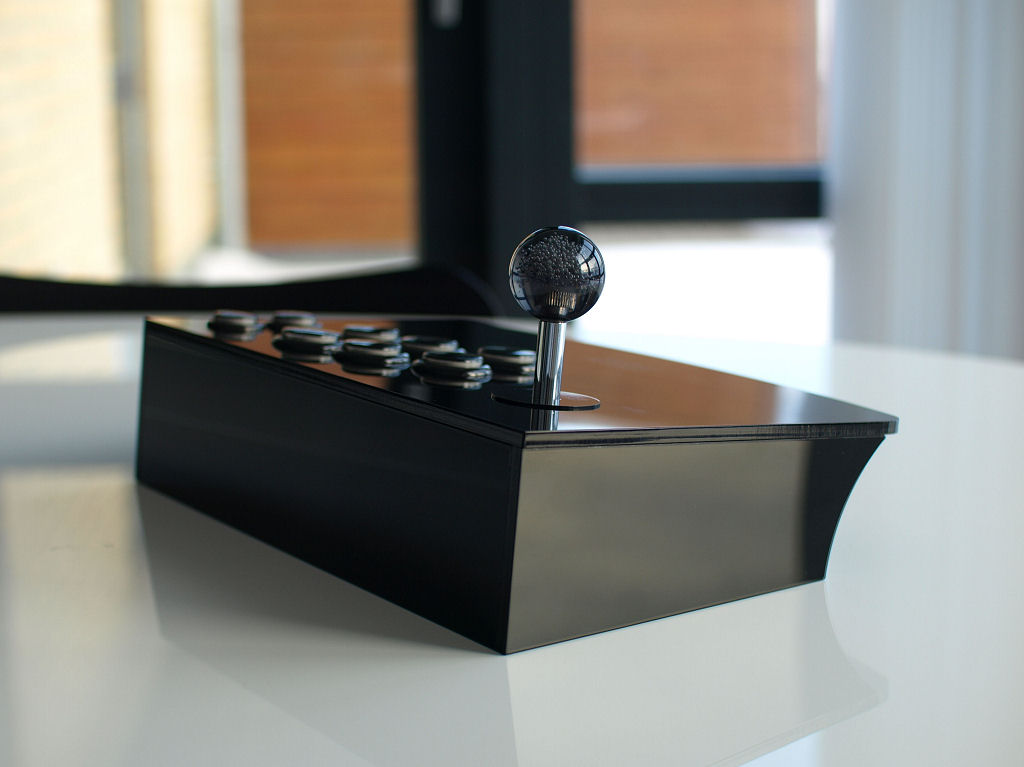
Back view
|
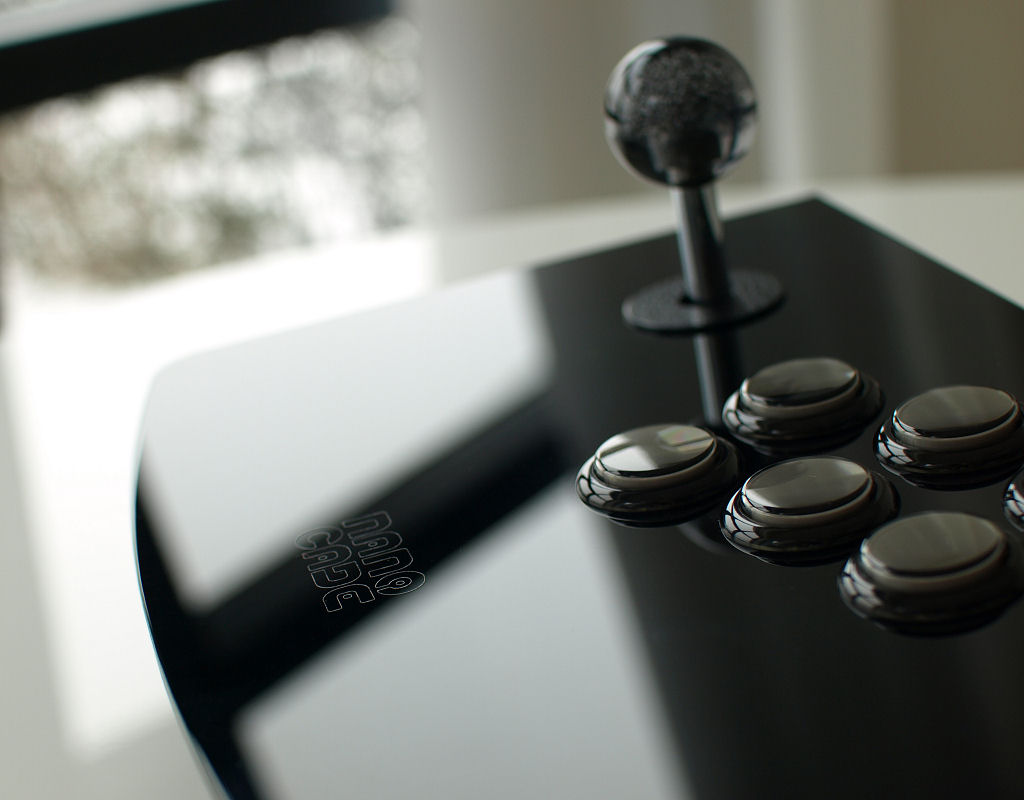
Nanocade laser
engraved logo
|
Front / top view |
|
|
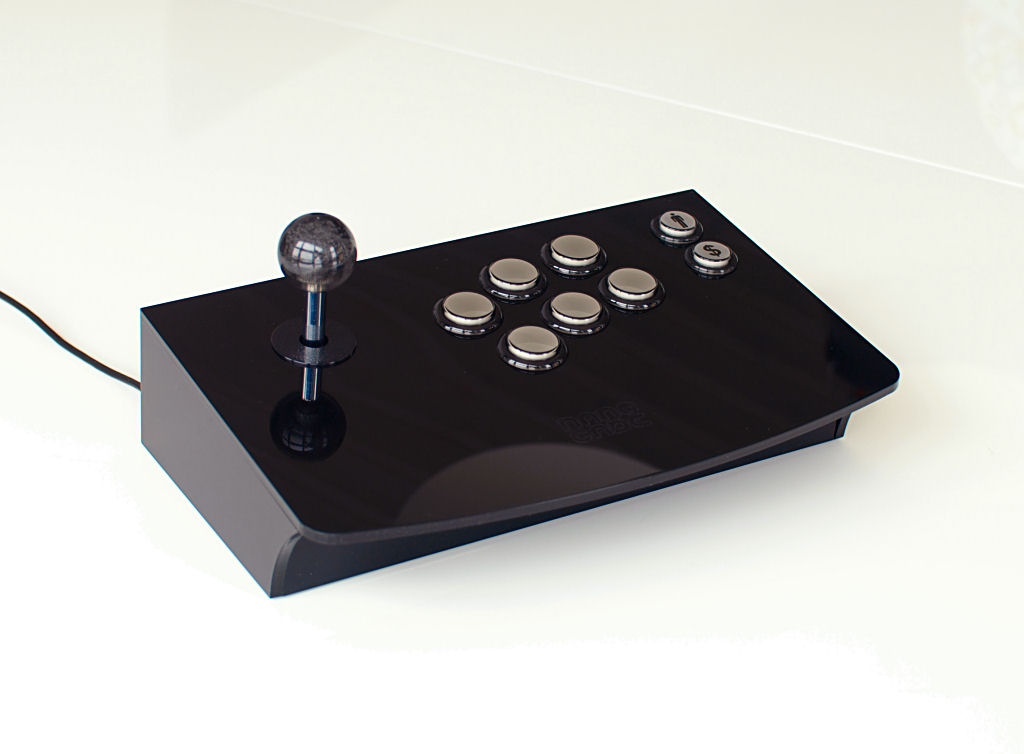
Other side |
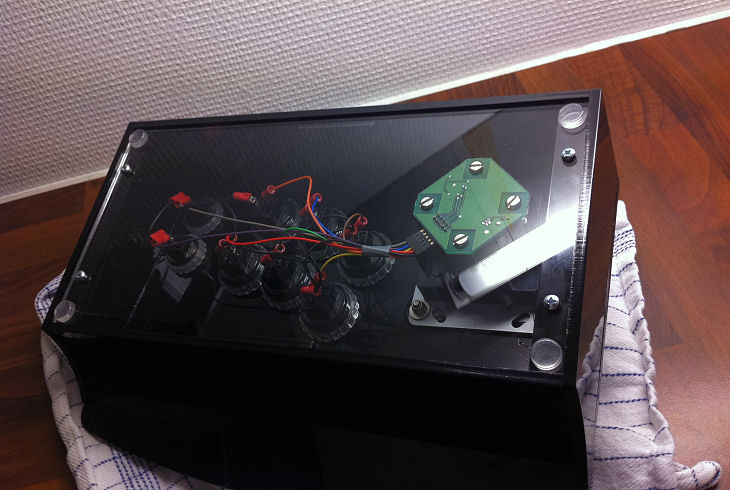
And finally a
picture of the inside again :)
If you
are interested you can buy the Nanocade ArcadeStik KIT here
|
|
|
|
Page 3 / 3 |
|
|
|
|
If you decide to make your own MAME cabinet using my drawings, please feel free to
make a donation, as I'm trying to raise enough money to make a new
up-right cabinet, that's hard to do as a student. |
|
|
